Travel Tips

Where To Find Cheap Flights

The Best Places To Look For Cheap Flights With flights often being the most expensive portion of a trip (at least for international ones), finding cheap tickets can feel like a scavenger hunt. If you wait too long you're screwed, unless a magical last-minute deal pops up. Before booking flights, I always make sure to compare fares from at least a few sites. Here are six of my favorites that you can use to get the best airfare deal and make that dream trip happen:

1. Skyscanner

My all-time favorite flight search site. I've been using Skyscanner for years and like how it shows you the cheapest flight, and shows you what that specific flight costs at different sites so you know you're getting the lowest deal. I also like using the other features, such as the low fare calendar to find the cheapest day to fly on, or looking up flights from my departure airport to "Everywhere" to view prices all over the world.

2. Airfare Watchdog

I've come across Airfare Watchdog more recently, and it's great for finding last-minute deals or cheap flights for certain times of the year. Check out their Twitter, too, where they tweet especially good fares.

3. Hipmunk

I've used Hipmunk a couple times, and it really helped me find an okay deal when I needed to book a last-minute flight to DC (literally only four days before I left). With Hipmunk you can organize your search by price, duration, or my favorite, agony, so you can avoid the seemingly "great" deals that happen to use multiple airlines, 3+ stops, long layovers, etc.

4. Student Universe

If you're a student or under 26 years old, you are able to book through Student Universe which offers a flight search engine, comparison tool, and also other travel options like rail passes, hotels, tours, and activities.

5. Rome 2 Rio

If you're doing a multi-city trip or want to utilize more than just air travel, Rome 2 Rio is a great site to use because it gives you different route options to get to places. If you're in Rome and you want to get to Paris, it will offer a number of ways to get there, such as taking a bus to one city, then a plane, then a train, or taking a train to a different city that has a cheaper flight to your final destination. Choose to travel by plane, train, bus, ferry, car, or a combination.

6.  Budget Airlines' Websites

Do a little research to find budget airlines according to the region you're in. With a number of flash sales and special deals, you can easily find flights one-way for only $20 on some. Note that you get what you pay for, however: most budget airlines, especially in Europe, charge extra for carry-ons, snacks on the flight, only fly to out-of-the-way airports, etc. A few to consider:

-Southwest Airlines: my favorite way to budget in the US, it actually allows two checked bags free plus a personal item. Also, many planes now offer free WiFi on board. Southwest flies all around the US as well as some places in Mexico and the Caribbean.

-Frontier Airlines: based out of Denver, Colorado, Frontier flies all around the US as well as some other destinations in Mexico, Costa Rica, and the Dominican Republic. I've flown them a couple times and have found some great deals, especially when I go to Colorado.

Update 6/13/15: Since writing this post I've flown Frontier from Denver. One of the newer changes was a $20 charge to bring a carry-on bag on the flight. Then, the flight was canceled due to weather conditions (it was January in Colorado, after all), but they didn't refund the $20 baggage fee.

-Easyjet, Ryan Air, and Wizz Air: grouping these together because they're pretty similar. All are budget airlines that fly within Europe at extremely low prices.

-Norwegian Airlines: this airline just opened up flight departure options from the United States - you can find one-way flights from the US to Europe for only 300 euros. Again, it's a no-frills airline.

-AirAsia: a Malaysia airline based out of Kuala Lumpur, you can find great deals on flights all around Asia and Australia.


Photo: We Heart It

4 Essentials For a Weekend in Istanbul

Istanbul Mosque

Istanbul Mosque

Last fall I had been itching to go somewhere a little more exotic and different than Western/Central Europe, and was thrilled when I found cheap flights to Istanbul, Turkey's largest city. For a long weekend, I wandered around the city with a friend to explore a place neither of us had been to. Immediately we were in awe, as the city blends the east and the west, evidently seen through the culture and architecture. The people were friendly and the streets were bustling. Since we just had a few days there, we set out on hitting the major must-see attractions, but also walked around plenty in the attempt to stumble upon random shops and cafes. Here are a few must-see things we did that I highly recommend you do if you find yourself in Istanbul:

Galata Tower

Galata Tower View

Galata Tower View

Head to the top of the Galata Tower for a fantastic view of Istanbul. Once at the top, you slowly make your way around the tower which gives you an amazing panoramic view of the city, the water, and the mosques in the distance. Look down and people watch those walking around the streets or dining at an outdoor cafe.

Topkapi Palace

Topkapi palace

Topkapi palace

The Topkapi Palace was one of my favorite places we visited. Nestled on a hill, there are spectacular views of the city and the water surrounding the castle. The rooms throughout the palace are covered in bright colored tiles and stained glass windows that add to the grandeur of the former stomping grounds for the Ottoman Sultans. Inside the palace was the jewel room, which I LOVED. You aren't allowed to take photos in the jewel room, so I only have my memories - think swords and other weaponry completely covered in gems, decorative bowls, and large chests with giant, pure emeralds.

Mosques

Istanbul Mosques

Istanbul Mosques

The mosques in Istanbul are grand and elaborate from the outside, but even more so on the inside. While we didn't have a chance to go to Hagia Sofia (something to do next time), we did get to the Blue Mosque and the New Mosque. Being inside the mosques was relaxing and peaceful. I instantly felt a sense of calm. Make sure to dress conservatively in the mosques with covered shoulders, knees, and toes, plus a head scarf for women.

Grand Bazaar/Spice Market

Spice Market Istanbul

Spice Market Istanbul

The Grand Bazaar and Spice Market were two places I weren't very fond of, but nevertheless are interesting to experience. The shop salespeople were mainly men who were very pushy and annoying just to get you to look at their items. The Grand Bazaar was large and there was a ton of selection on Turkish goods, plus some of the typical souvenir stuff. The Spice Market had a ton of spices (of course), and if I were one to cook, I would've stocked up on everything from paprika to cumin to pepper. The Spice Market also had shops with plenty of Turkish gifts to buy, including traditional Turkish foods like baklava. While these weren't my favorite places to go to, I'd still recommend a look around because there is quite a variety of shops.

There is plenty more to do in Istanbul, and these four essentials only scratch the surface - but will definitely make for a trip to remember as part of your weekend itinerary.

Makeup/Beauty Tips For Travelers

If you're like me (or most girls) you probably like to bring your makeup with you on trips. Just because you're not at home doesn't mean you have to sacrifice your typical beauty routine! I've compiled plenty of tips on how to pack your products as well as tips on makeup for traveling.

Packing Your Makeup & Beauty Products

-You don't need to pack your whole bathroom intoyour suitcase. When you're traveling, packing light is key and makes everything easier. Plus, having extra space means more room for goodies on your trip! When you're deciding on makeup and hair products, think: Do I actually use this every day? Will I actually use this on my trip? If the answer is no, leave it behind. Chances are you'll completely forget about it. The last thing you want is to have a giant bottle of hairspray, a ton of extra eye shadow palettes, and full-size shampoo bottles taking up space in your luggage, especially when you don't use them.

- To minimize space, use travel size bottles. I take a tube or two of travel size toothpaste, and if I don't use the whole tube, I throw it out. Since I like to use a certain type of shampoo and conditioner for my hair that doesn't come in travel size, I get the plastic empty bottles from Target for $1 and take the amount I need with me.

- If you're traveling with a friend, coordinate on stuff you can share. Do you both need to bring a flat iron? Maybe one of you brings the flat iron and the other brings the curling iron. Could you share shampoo? Toothpaste?

- Always put your liquids in ziploc bags. The last thing you'll feel like dealing with when arriving to your destination is buying a whole new wardrobe because your pink strawberry scented shaving cream exploded and stained all your clothes.

- Another tip for liquids: put a piece of plastic wrap over the opening of the bottle, secure with a rubber band, and screw the cap on over it. This helps ensure minimal leaks.

- If you're traveling long-term, there's no need to stock up on a huge amount of product before you head over (that is, unless you're totally attached to it and won't be able to find it in your new country). Many countries have Sephora, department stores with beauty sections, or other makeup/beauty shops. Grocery stores often sell similar toiletries like they do in the US. Check before you go so you don't have weigh your luggage down with 10 pounds of lotion and five large tubes of toothpaste.

- Take advantage of pockets or compartments in your suitcase. On my suitcase, I have a small outer pocket that I put most of my liquids in. This makes it extra safe for not leaking onto my stuff, but also makes it easy to take out when I go through security.

Untitled

Makeup and Beauty Tips for Traveling

- For nail polish, light colors tend to show less when chipping, so you can make your mani/pedi last longer. If you need to do touch-ups, bring your bottle with you - it's small and doesn't take up much space!

- If you got a spray tan before your beach vaycay and you want to stretch the life of the tan, make sure to moisturize daily with lotion. For showering with a spray tan, avoid exfoliating, and when you towel off, pat instead of rubbing to avoid smears and loss of color.

- Protect your face with one less item to bring - if your foundation has SPF in it, then you don't necessarily need to bring a bottle of face sunscreen.

- If you have a long flight, layover, or you just didn't want to use the icky hostel shower to wash your hair, wear a hat. Baseball caps and beanies pack well. Headbands, hair ties, or bobby pins are other alternatives to help on a dirty hair day.

-  For summer trips, bring bug spray. I brought a mini bottle with me to Florence and it saved my skin! (Florence, Italy especially has a ton of mosquitoes in the summertime). If I forgot to wear bug spray out at night, I'd wake up the next morning with over 30 bug bites. I am not kidding - I still have a few scars. One of the best creams I'd always bring for bug bites is a small tube of Cortizone. It helps reduce redness, swelling, and itching, so I use it for bug bites, breakouts, dry skin, etc.

- Instead of my normal face wash, I usemakeup remover wipes when traveling. Luckily, my skin isn't prone to breakouts, so I don't have to use a specific skincare routine. If you're going somewhere (or multiple places) where the water is different than what you're used to at home, then chances are your skin won't be used to it either. Makeup remover wipes clean and moisturize skin sans-water so you can avoid unwanted breakouts.

Must-Dos For Any South Africa Trip

Enjoy this guest post from my friend Aryn who went on a South Africa tour in Johannesburg, Cape Town, and Kruger National Park. From spotting elephants on safari to hiking iconic Table Mountain, Aryn recounts her experiences and shares her "musts" for any trip to Africa's most southern country. My very first time outside leaving North America was on a trip to South Africa the summer before my senior year in high school. I’d been to Vancouver, BC up in Canada before but this was my first big trip – and without my family.

I didn’t really know what to expect traveling abroad. I thought there would be a lot of culture shock but there really wasn’t. Instead I was greeted by a country rich with history. I quickly learned that South Africa’s unique diversity was something to be admired (lots and lots of different foods!) and that everyone had a story.

Here are a few of my most memorable experiences from South Africa.

Johannesburg

South Africa 1 037

After a long flight from London Heathrow we landed for our first official day in Johannesburg. Initially, it was like any city that I’d seen on TV (keeping in mind I’d never actually been to New York City either). There were lots of cars and people everywhere. But as we began to drive to our hotel I started to notice some differences. The place we were staying was a four star hotel (not many Marriotts or Holiday Inns) but the drive there from the airport you saw everything close to poverty: displaced migrants from Zimbabwe setting up makeshift homes from scrap metal on swamplands; lots of children just out and about. It felt so weird to just get on a bus and go back to a hotel and remain separated from everyone on the other side of the glass. So maybe that was my culture shock moment.

South Africa 1 073

Apartheid Museum

South Africa 1 015

Within the next couple of days we learned more about South Africa’s suppressive history and visited the Apartheid Museum.

In 1950 racial segregation between white South Africans and nonwhite South Africans (a majority of the population) became legal when the National Party gained control of the government and began to rule with intense white supremacy. The legislation of this was called apartheid.

As we walked into the museum we saw different artifacts from the apartheid. I recall the arches above the doorways to the exhibits labeled as “whites” and “non-whites” – from the start it was clear that this was the theme.

South Africa 1 023

I imagine it’s always hard to really understand the Civil Rights era in America because growing up in the nineties I never knew differently. But because Apartheid in South Africa had only ended in 1994, the memories of oppression were still fresh.

The museum was especially powerful, highlighting the famous protests of young students against the government, the segregation of everyday life, and the violence that took place for almost half a century.

Why it’s a must: The Apartheid was a big piece of South Africa’s history and explains why the country has been so late to develop and the characteristics of its population. For me, visiting the Apartheid Museum was as powerful as visiting the Holocaust Museum in Washington, DC.

Kruger National Park

After about four days in Johannesburg, we began moving our way north to Kruger National Park. I think it’s just about everyone’s dream to go on safari in Africa. And it totally was. Because it was Southern Africa’s winter, we lucked out our entire stay there.

South Africa 1 372 - Copy

We arrived to the Hoyo Hoyo Safari Lodge and I must say it wasn’t anything like I expected. We stayed in cabin tents on the residential grounds of the private reserve area of the national park and there were even wild hogs (so cute!) running about.

Most of our time at Hoyo Hoyo was spent on safari. Our first time we saw a pride of lions feasting on wildebeest and we started every morning with a sunrise safari to not only catch the morning sun – cue the “Circle of Life” – but to spy on giraffes and elephants.

South Africa 1 487

South Africa 1 348

My experience on the safari was nothing short of incredible. There were guides to take us on bush walks, educating us on the different plants and tracking patterns of the wildlife in the park. On one drive we actually got out of our jeep and stalked a pregnant leopard on foot!

Why it’s a must: Come on. It’s an African safari. There is nothing cooler (or more ethical, I might add) than seeing animals in their natural habits. No less seeing animals you only dream about in the movies. While I was there I tried some ethnic foods such as impala and various types of native fruits – food I’d never have anywhere else.

Cape Town

After leaving Hoyo Hoyo we drove back to Johannesburg (a killer 8-hour drive through the South Afrin countryside – at least we got to see sites like God’s window and stand at the top of some beautiful cliffs) to fly out to Cape Town.

Random: I will say right now that the first time I tried any type of curry was on South African Airlines. And it was pretty darn good.

When we arrived in Cape Town, I realized that the city was just as beautiful as I imagined it. Again, the city has so much history but it also laid claim on some devastatingly beautiful landscapes. During our time there we visited Robben Island to see where Nelson Mandela served his nineteen years. But my favorite was the outings we went on outside the city.

South Africa 1 540

Table Mountain

The morning we went to Table Mountain we took a cable car to the top. I mean, you knew when you were looking at it days before from below that it was pretty far up. But when we got to the top you could literally see everything from above, like Robben Island, the beautiful ocean, the city, and other parts of the coast.

It was an awesome feeling up on top of the world – at least that’s what it felt like. During the 2010 World Cup I remember seeing all the media shots of Table Mountain and it brought back a lot of (windy) memories.

Cape Good Hope

South Africa 3 & London 031

One of my other favorite parts of our time in Cape Town was driving up the coastal region to Cape of Good Hope. Cape of Good Hope, while it is commonly mistaken as the southern most tip of Africa, it has always been a point of significance for sailors, mainly because of its beauty as they begin to round the coast. Again, hiking up in this area was absolutely beautiful, especially with panoramic views.

South Africa 3 & London 026

Boulders Beach

How often do you get to see penguins in AFRICA? I didn’t even think that this was a possibility. But then again I didn’t even realize that June was Africa’s winter. So when we arrived at Boulders Beach to see some penguins, I was nothing short of amazed.

South Africa 3 & London 039

Why these were a must: The entire country of South Africa is so different from anything I’ve ever experienced. It was kind of refreshing to be so close to the ocean after spending a whole week inland. The sites are breathtaking and you really see why so many people fall in love with Africa’s coastal cities.

But… What I wish I had done…

If I could go back to South Africa there’s no question in my mind that I would go back on safari and return to Cape Town. But I’d also do the following:

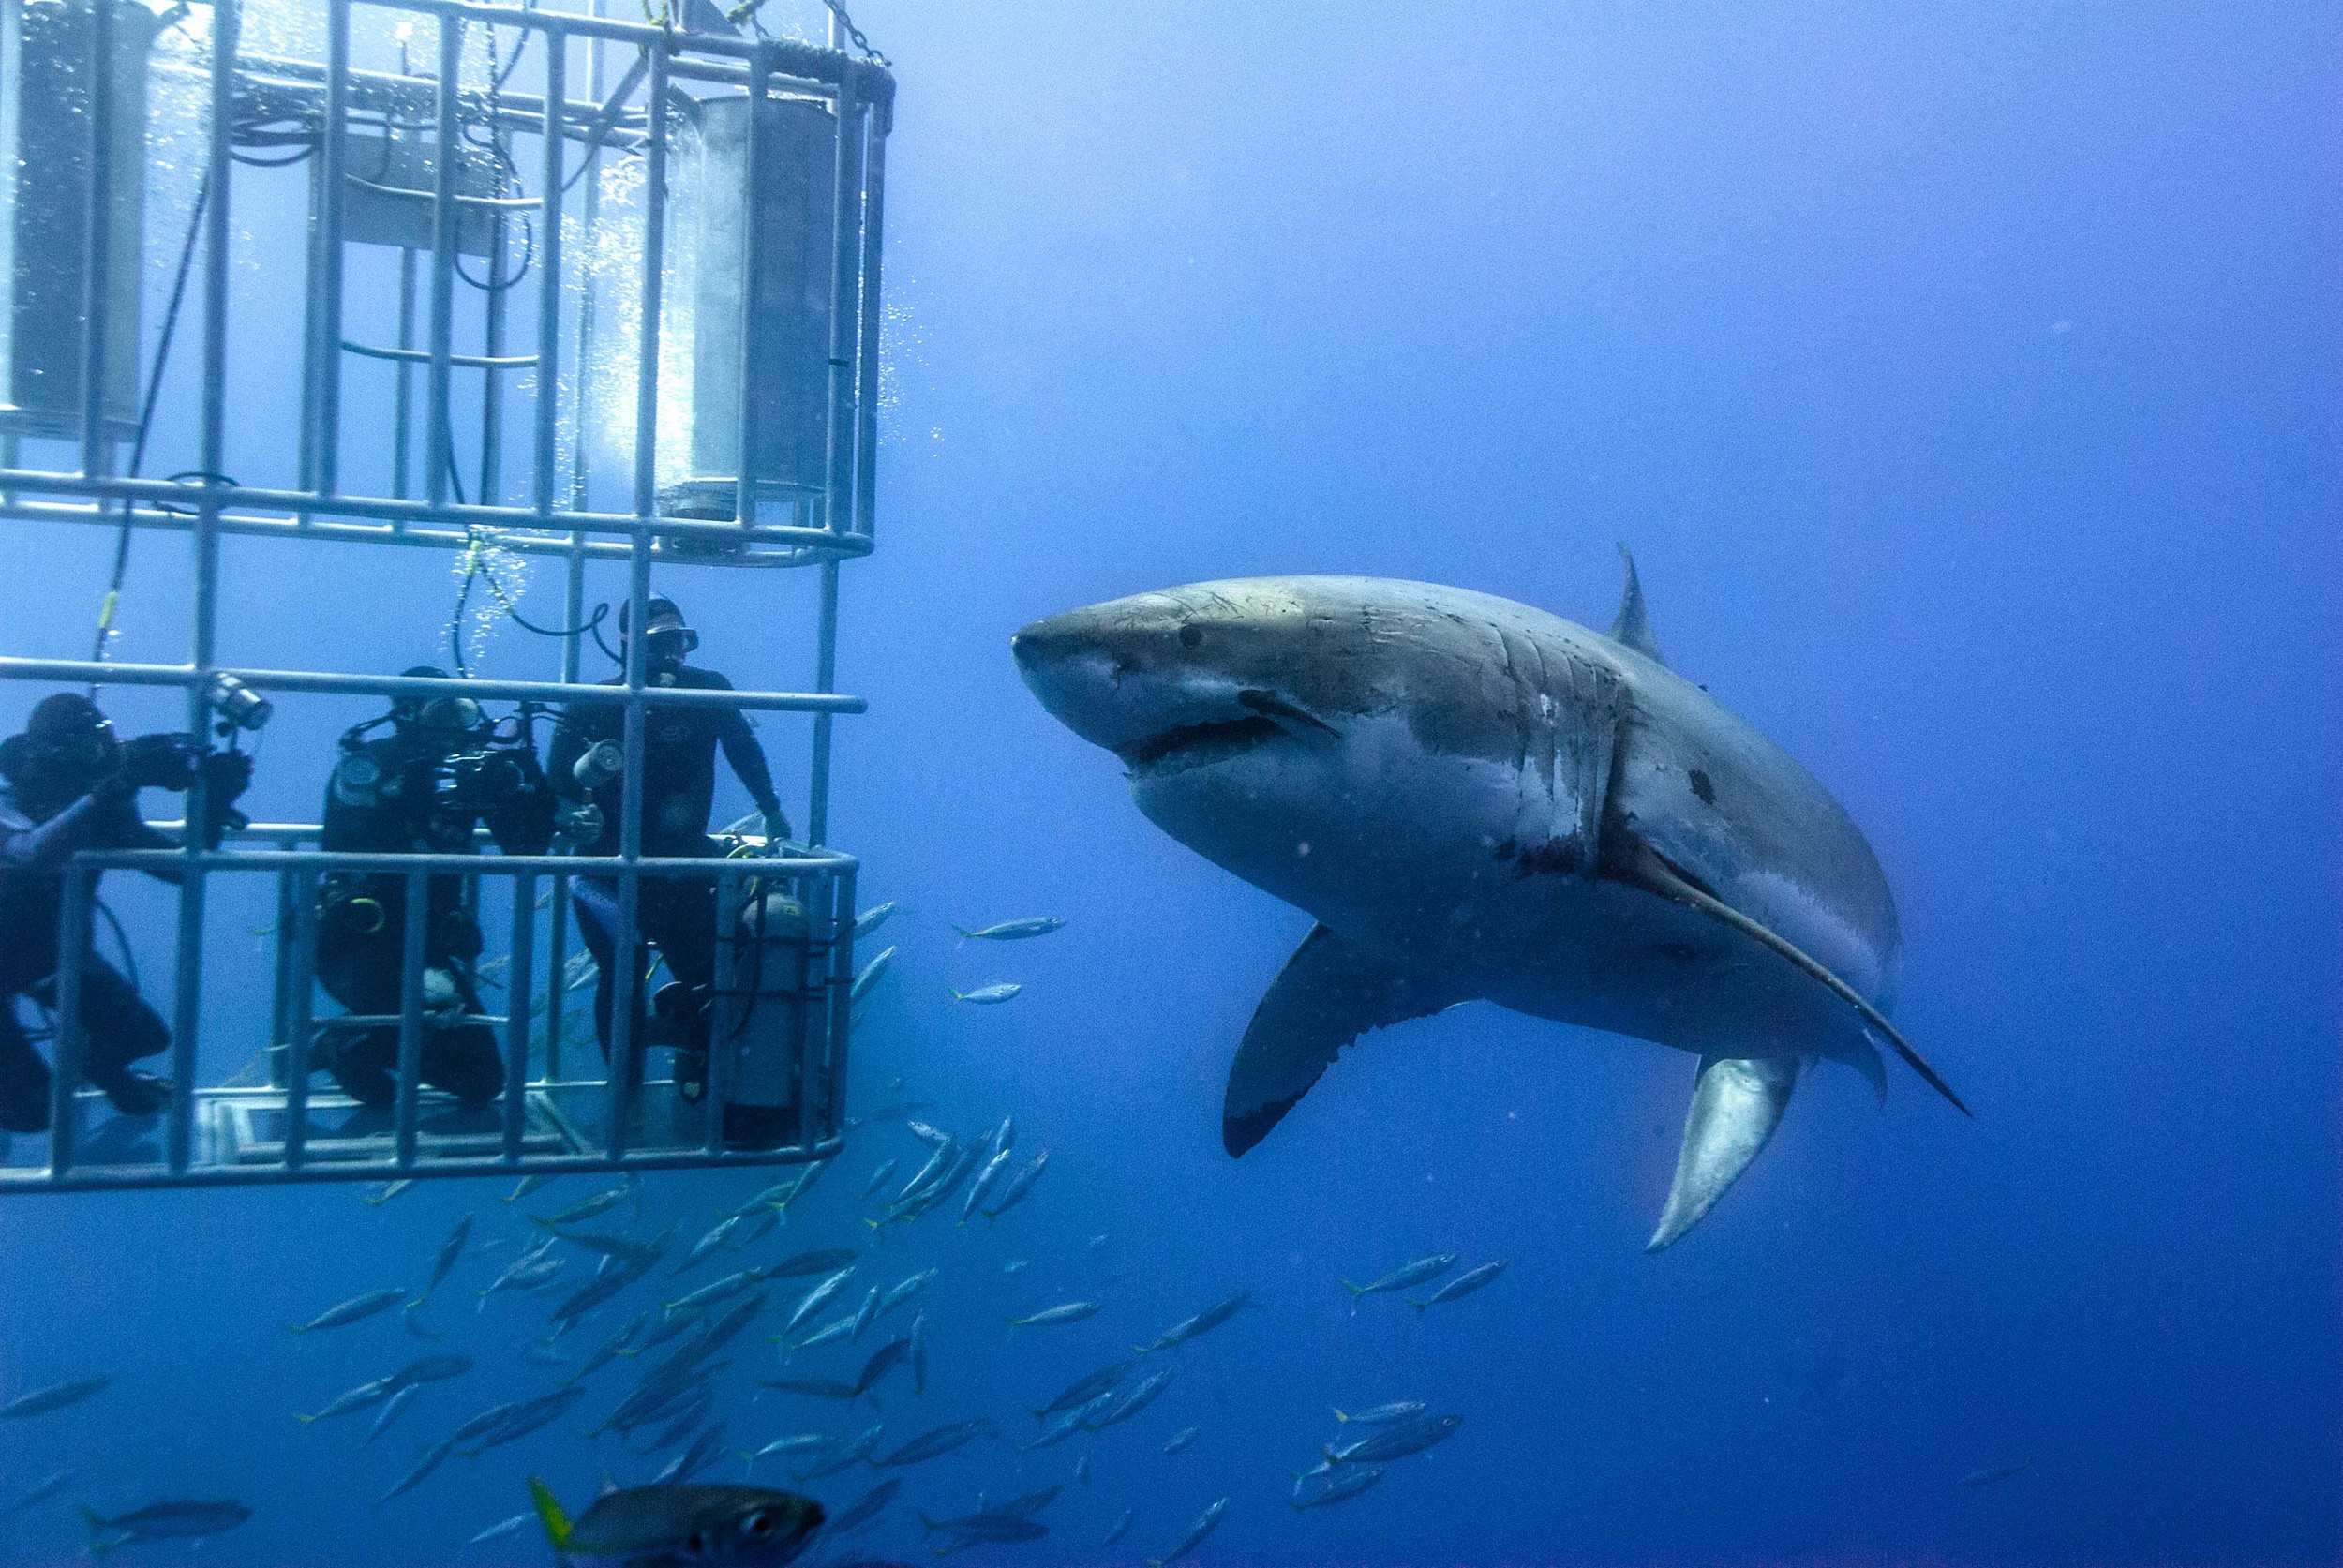
Shark Cage

Great White Shark cage diving – When we were in Cape Town we went on a boat ride to Seal Island. Little did I know that very close to there are the most Great White Shark-infested waters in the world. As naïve high schoolers do, we joked about dangling our cameras over the side of the boat, not realizing that there was the possibility of Great Whites roaming the waters below. Now, as a huge fan of Shark Week (go figure after that story, right?) I think after that experience all I’ve ever wanted to do was go back and get in those waters right next to those sharks. So ever since shark cage diving in South Africa has been at the top of my bucket list.

South-African-Vineyard.jpg

South African Vineyard

Wine tasting in Cape Town – Though I wasn’t old enough to really appreciate the countryside in South Africa, I’ve become well aware since that they have some pretty awesome vineyards producing some pretty savvy wines.

Kirstenbosch Garden

Kirstenbosch Botanical Garden – At some point in our time in Cape Town we decided pretty early on that the last thing we wanted to do was go see some flowers. So we didn’t. Looking back now, if I went back with friends or loved ones, I should’ve went. As a twenty-something I definitely think I have a bigger appreciation in exotic blooms and finely landscaped gardens.

I don’t know why it always seems so corny to me when I think it but I often return to the thought that I left my heart in Africa. Maybe it was because it was so long ago and high school Aryn had much more trivial issues that those of my 23-year-old self. But it was a truly amazing experience, especially for my first time outside of North America. But there’s so much of the continent that I am so excited to explore.

Photo credits: Aryn Versteegh

How To Not Gain Weight When You Study Abroad

How To Not Gain Weight When You Study Abroad

You've all heard of the notorious "Freshman 15" in college: during freshman year, you stop eating mom and dad's home cooked meals and binge on the unhealthy options in the cafeteria, followed by late night pizza, lots of beer (#college! woo!), and taking a break from the sports you used to do in high school. By Christmas break, you've gained a few pounds and then resolve to hit the gym first thing in the new year.

There's also the notorious weight gain for going abroad - the "Study Abroad 15." (When I went to Florence, we called it the "Florence 15"). Trying every food under the sun, drinking lots of wine...and beer...and tequila shots...and long island iced teas...plus literally not having any time to go to the gym could be a recipe for weight gain.

You don't have to gain weight when you study abroad. Just like there are ways to avoid the "Freshman 15" in college, there are ways to avoid the "Study Abroad 15" as well.

So, want to know how to not gain weight when you study abroad?

Here are some super helpful tips - that don't involve traditional gym workouts - to help you maintain your weight abroad!

how to not gain weight when you study abroad

how to not gain weight when you study abroad

1. First, think about your current lifestyle and how you're maintaining your figure.

When you were in high school, you might have been involved in some type of sport or physical activity. Also, you probably were eating balanced meals three times a day. When you started college, things changed a bit. You have a more flexible schedule (more time for random snacks) and you might not have been as physically active. Also, no curfews and more freedom can mean more parties and drinking.

Think about how you've maintained your figure in college despite the lifestyle changes of high school: for me, I walked a lot more on average every day around campus. I was on the dance team, so I had practice 3-5 times per week, in addition to my regular workouts.

While I found myself snacking more between classes, I wouldn't overeat if I was full. Therefore, I avoided the Freshman 15.

Apply this mindset to when you're studying abroad, just like when you transitioned from high school to college!

2. Walking everywhere provides plenty of cardio.

When I went abroad, I had a small internal freak-out about not having time to go to the gym. Everyone that did my program before me said there wasn't time to go to the gym, but I swore I would. Here's the thing - I didn't go to the gym!

There simply wasn't enough time, and that was okay. I was walking everywhere, and much more than I did on campus. Also, one of the best views of Florence is at Piazzale Michaelangelo, which is earned by walking up a big hill - great for cardio (and toning up those calves)!

Walking everywhere will help you stay away from the Study Abroad 15.

3. Experience the food of the culture, but try not to overeat.

We stayed in pensioni (like dorms) where the owner would cook us breakfast and lunch every day. The food was all natural and made from scratch. Eating out in Italy in general was more natural and less processed than foods in the US, so that's already a good start.

However, it would be easy to have a giant plate of pasta, plus bread, meat, fruit, and gelato every meal for every day. But when you're at home, you wouldn't normally continue eating if you're already full, right?

Enjoy the pasta and gelato, but try your best to recognize when you're full. Get a take away box and save the rest for later (leftovers are the best!). Since you're studying abroad you'll be living in your city for a while, so you have more time to try different foods.

As far as alcohol goes, red wine, light beers, and clear liquor tend to be lower in calories.

4. If you have spare time and motivation to exercise, do some calisthenics, Pilates, or yoga in your room.

Do you ever randomly get in a mood where you just really want to exercise? Nope, just me? Well, okay. Exercises that don't take up space are great for traveling. I like planks, crunches, leg lifts, squats, and lunges. I also like doing Pilates videos on YouTube (Blogilates is my favorite!).

5. Look into some fun activities you can do abroad that sneak in exercise.

Hiking is a great way to enjoy the scenic nature of a new destination. If the weather is nice, take a trip to the beach and swim or play frisbee. If it's winter, head to the gorgeous Swiss or Slovenian alps to go skiing or snowboarding.

During the week, see if your program offers any intramural sports to sign up for - a fun and social way to sneak in exercise and meet people from other schools.

If you do end up gaining some weight, it's not the end of the world!

Maybe you ended up gaining a few pounds from your study abroad. Instead of dwelling on it, know that you experienced life, and look back on all the great memories you made! The gym (and your "regular life") will be there when you get back to campus.

I hope these tips have been helpful for when you study abroad or go on an extended trip. Don't spend all your free time inside the gym when you can sneak in exercise by using these tips! Your reason for studying abroad is to experience living in a new city and to make new memories. Have fun and enjoy every aspect of the culture.

Photos: We Heart It

A Beginner's Guide on How To Navigate a Metro System

Growing up in the suburbs, I never used public transportation. When I went to college in a city, I still didn't use or need public transportation. The first time I tried navigating the tube in London during my study abroad was a confusing jumble of colored lines on a map, and if it weren't for my friend Nicole's common sense, I probably wouldn't have made it anywhere.

When I moved to Washington, DC for a summer I took the metro with friends upon arrival for the first few days, but when the time came to ride it alone, I got a little nervous. However, I hopped on and I got where I needed to go.

And it was SO easy.

For the rest of the summer in DC I would swiftly walk through the station, tap my card on the scanner and glide through the turnstiles. I would confidently hop on the metro, switch lines if needed, and get to my destination with ease. This experience helped me when I went back to Europe and rode the metro in cities like Milan, Budapest, Munich, and Istanbul.

If there are any beginners out there who need some guidance on navigating a metro system, here 4 easy steps to learn how (using examples with the DC metro):

1. Figure out which station is the closet to you, and which one is closest to wherever you're going. 

Let's say you're in NoVA (Northern Virginia) at the Clarendon station and you want to spend some time at Georgetown University, which is closest to the Rosslyn station. Clarendon and Rosslyn are both on the orange line. You will get on at Clarendon and get off at Rosslyn.

2. Make sure you choose the correct direction.

Look how on the left end of the orange line, the farthest station is Vienna, and on the opposite end, New Carrollton. When you're going from Clarendon to Rosslyn, you're going in the direction towards New Carrollton, so you need to get on the orange line for New Carrollton. If you're in Rosslyn coming back to Clarendon, then you will get on the orange line for Vienna.

3. To switch lines, use the transfer stations. These are designated on the map as the larger circles.

Now let's say you are at the Clarendon station and you want to hang out in Chinatown, so you will need to get off at Gallery Place. Gallery Place is in the center of the map.

For this you will need to start on the orange line towards New Carrollton. To get on the red line, you'll see that the orange stops at Metro Center, which is a transfer station. Get off at Metro Center and switch to the red line going towards Glemont. Get off at Gallery Place.

To sum up this scenario, you go: Clarendon, Metro Center, Gallery Place. On the way back, you'd do the opposite: start at Gallery Place, get on the red line towards Shady Grove, switch at Metro Center to the orange line going toward Vienna, and get off at Clarendon.

4. What if I miss my stop?

If you miss your stop, you can get off at the next one and then ride the metro going back in the opposite direction.

Other useful tips:

-When taking the escalators, the right side is for standing and the left side is for walking. Don't stand still on the left side and block the people walking up. You will look like a tourist and people will get annoyed.

-Save money by getting a metro card if you're staying your destination for a few days or longer and will be using the metro often. There is usually a fee for buying the card (typically around $5) but you'll save more overall than if you buy a bunch of individual tickets. You can reload the card if needed.

-Download a metro app onto your phone if there is one. Some apps also include schedules and updates on construction or delays.

-The GPS on your phone shows where the stations are. This way, you can figure out which one is closest when you're walking around. I use Mapquest or Bing Maps.

-Some metro systems don't run 24 hours. If you're out late at night, take this into consideration and call a taxi or an Uber if you can't ride the metro.

-Before your trip, do a little research on public transportation to see if you can find any helpful hints specific to that city.

The above tips are exactly how I've navigated transportation in DC, Milan, Munich, Budapest, and Istanbul. I haven't used the subway in NYC, which I hear are a little different. If you have any additional tips, please feel free to add them in the comments below.

Longchamp: A Girl's Perfect Travel Bag

starfish-jewels-headband.jpg

The traditional Longchamp Le Pliage totes are a popular choice for many college students and professionals. Since I got my first Longchamp last year, it has been all over the US and Europe with me, and has stood the test of time. Here's a list of five reasons why the Le Pliage tote is the perfect travel bag.

 Longchamp "Le Pliage" Large Tote

1. The Price is Right

Between $125 - $225, it isn't overly expensive, but not so cheap you'll know it'll fall apart.

2. Size Options

I've had two Longchamp bags, both size large. They easily hold my laptop, magazines, big DSLR camera, and other handbag necessities. The Le Pliage comes in small, medium, and large with multiple color choices.

3. It's Durable

Both of my Longchamps have stood the test of time (at least for the year it's been since I got my first one) and are still in great shape despite their almost-daily use.

4. It Has a Zip Closure

When you travel to a foreign city, the last thing you want to worry about is getting pick-pocketed. A zip closure makes it harder for thieves to reach in and grab your stuff.

5. It's Waterproof!

This is something you may not always think about when purchasing a handbag, but a waterproof bag is so nice to have. When you travel, you'll likely be walking most places, so when it rains, you don't have to worry about your bag - or the things in it - getting ruined. I can't tell you how many times I've been caught in the rain and was glad to not have had my papers or electronics ruined.