
Enjoy this guest post from my friend Aryn who went on a South Africa tour in Johannesburg, Cape Town, and Kruger National Park. From spotting elephants on safari to hiking iconic Table Mountain, Aryn recounts her experiences and shares her "musts" for any trip to Africa's most southern country. My very first time outside leaving North America was on a trip to South Africa the summer before my senior year in high school. I’d been to Vancouver, BC up in Canada before but this was my first big trip – and without my family.
I didn’t really know what to expect traveling abroad. I thought there would be a lot of culture shock but there really wasn’t. Instead I was greeted by a country rich with history. I quickly learned that South Africa’s unique diversity was something to be admired (lots and lots of different foods!) and that everyone had a story.
Here are a few of my most memorable experiences from South Africa.
Johannesburg

South Africa 1 037
After a long flight from London Heathrow we landed for our first official day in Johannesburg. Initially, it was like any city that I’d seen on TV (keeping in mind I’d never actually been to New York City either). There were lots of cars and people everywhere. But as we began to drive to our hotel I started to notice some differences. The place we were staying was a four star hotel (not many Marriotts or Holiday Inns) but the drive there from the airport you saw everything close to poverty: displaced migrants from Zimbabwe setting up makeshift homes from scrap metal on swamplands; lots of children just out and about. It felt so weird to just get on a bus and go back to a hotel and remain separated from everyone on the other side of the glass. So maybe that was my culture shock moment.
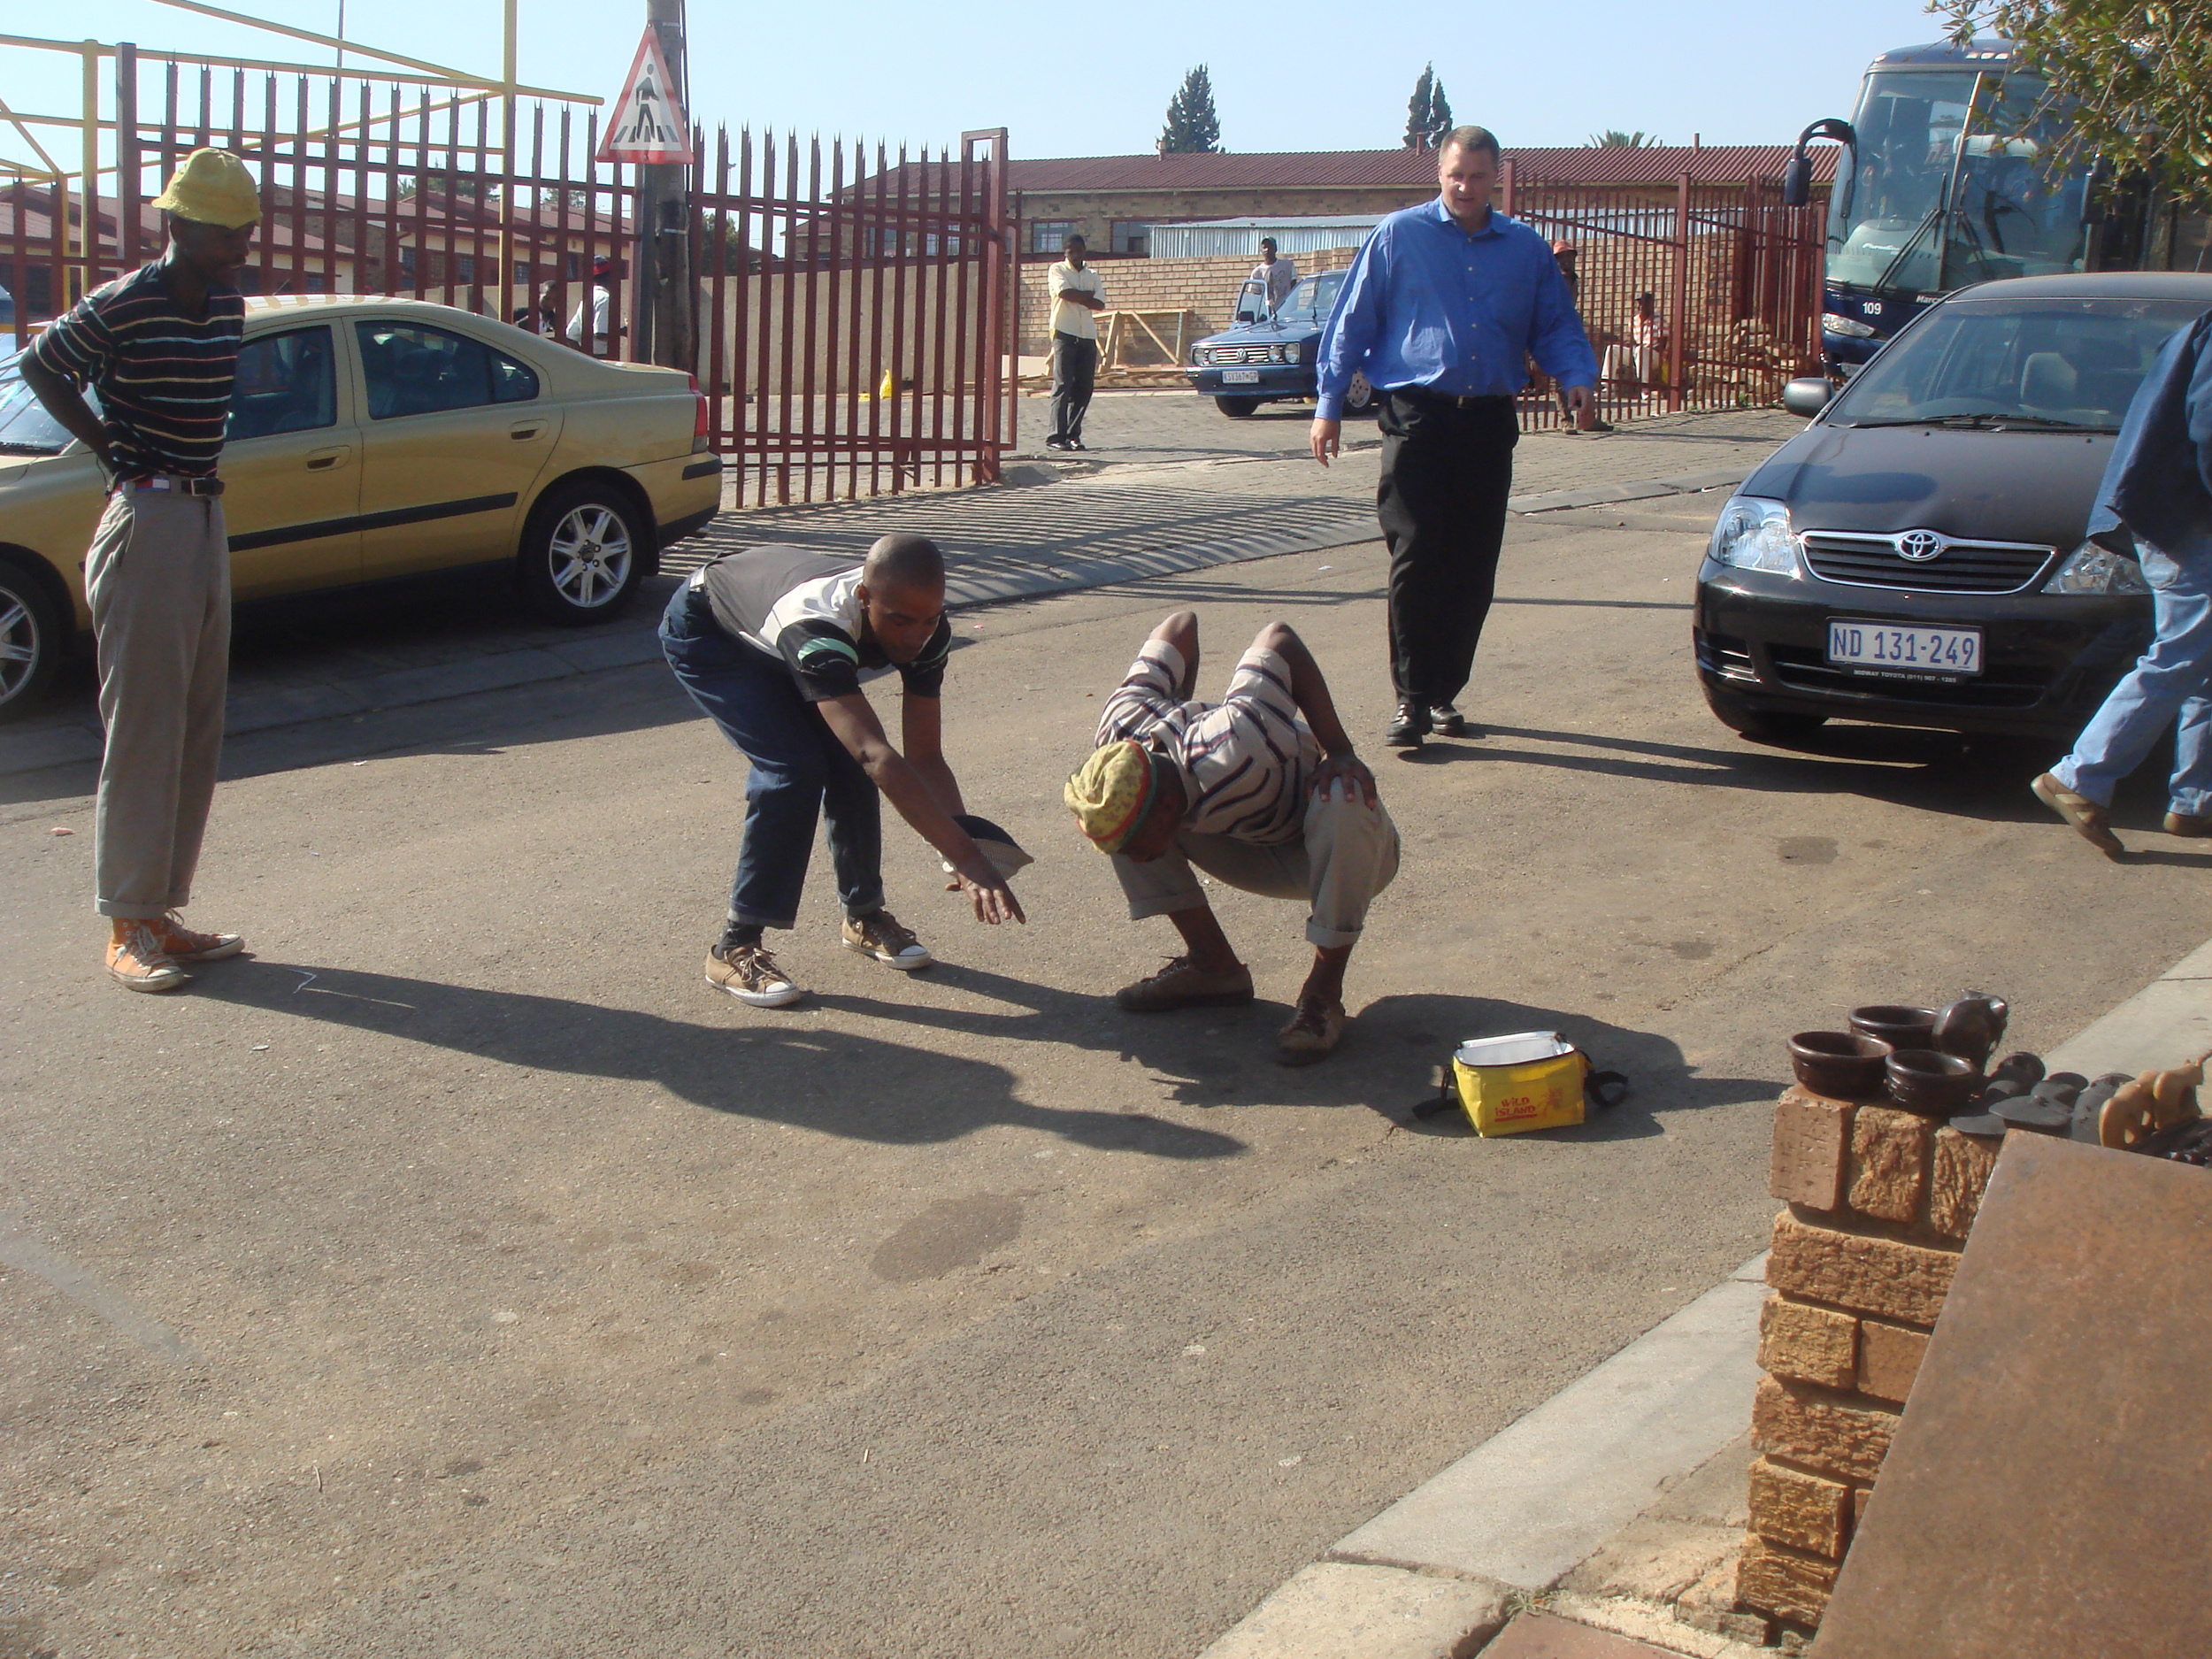
South Africa 1 073
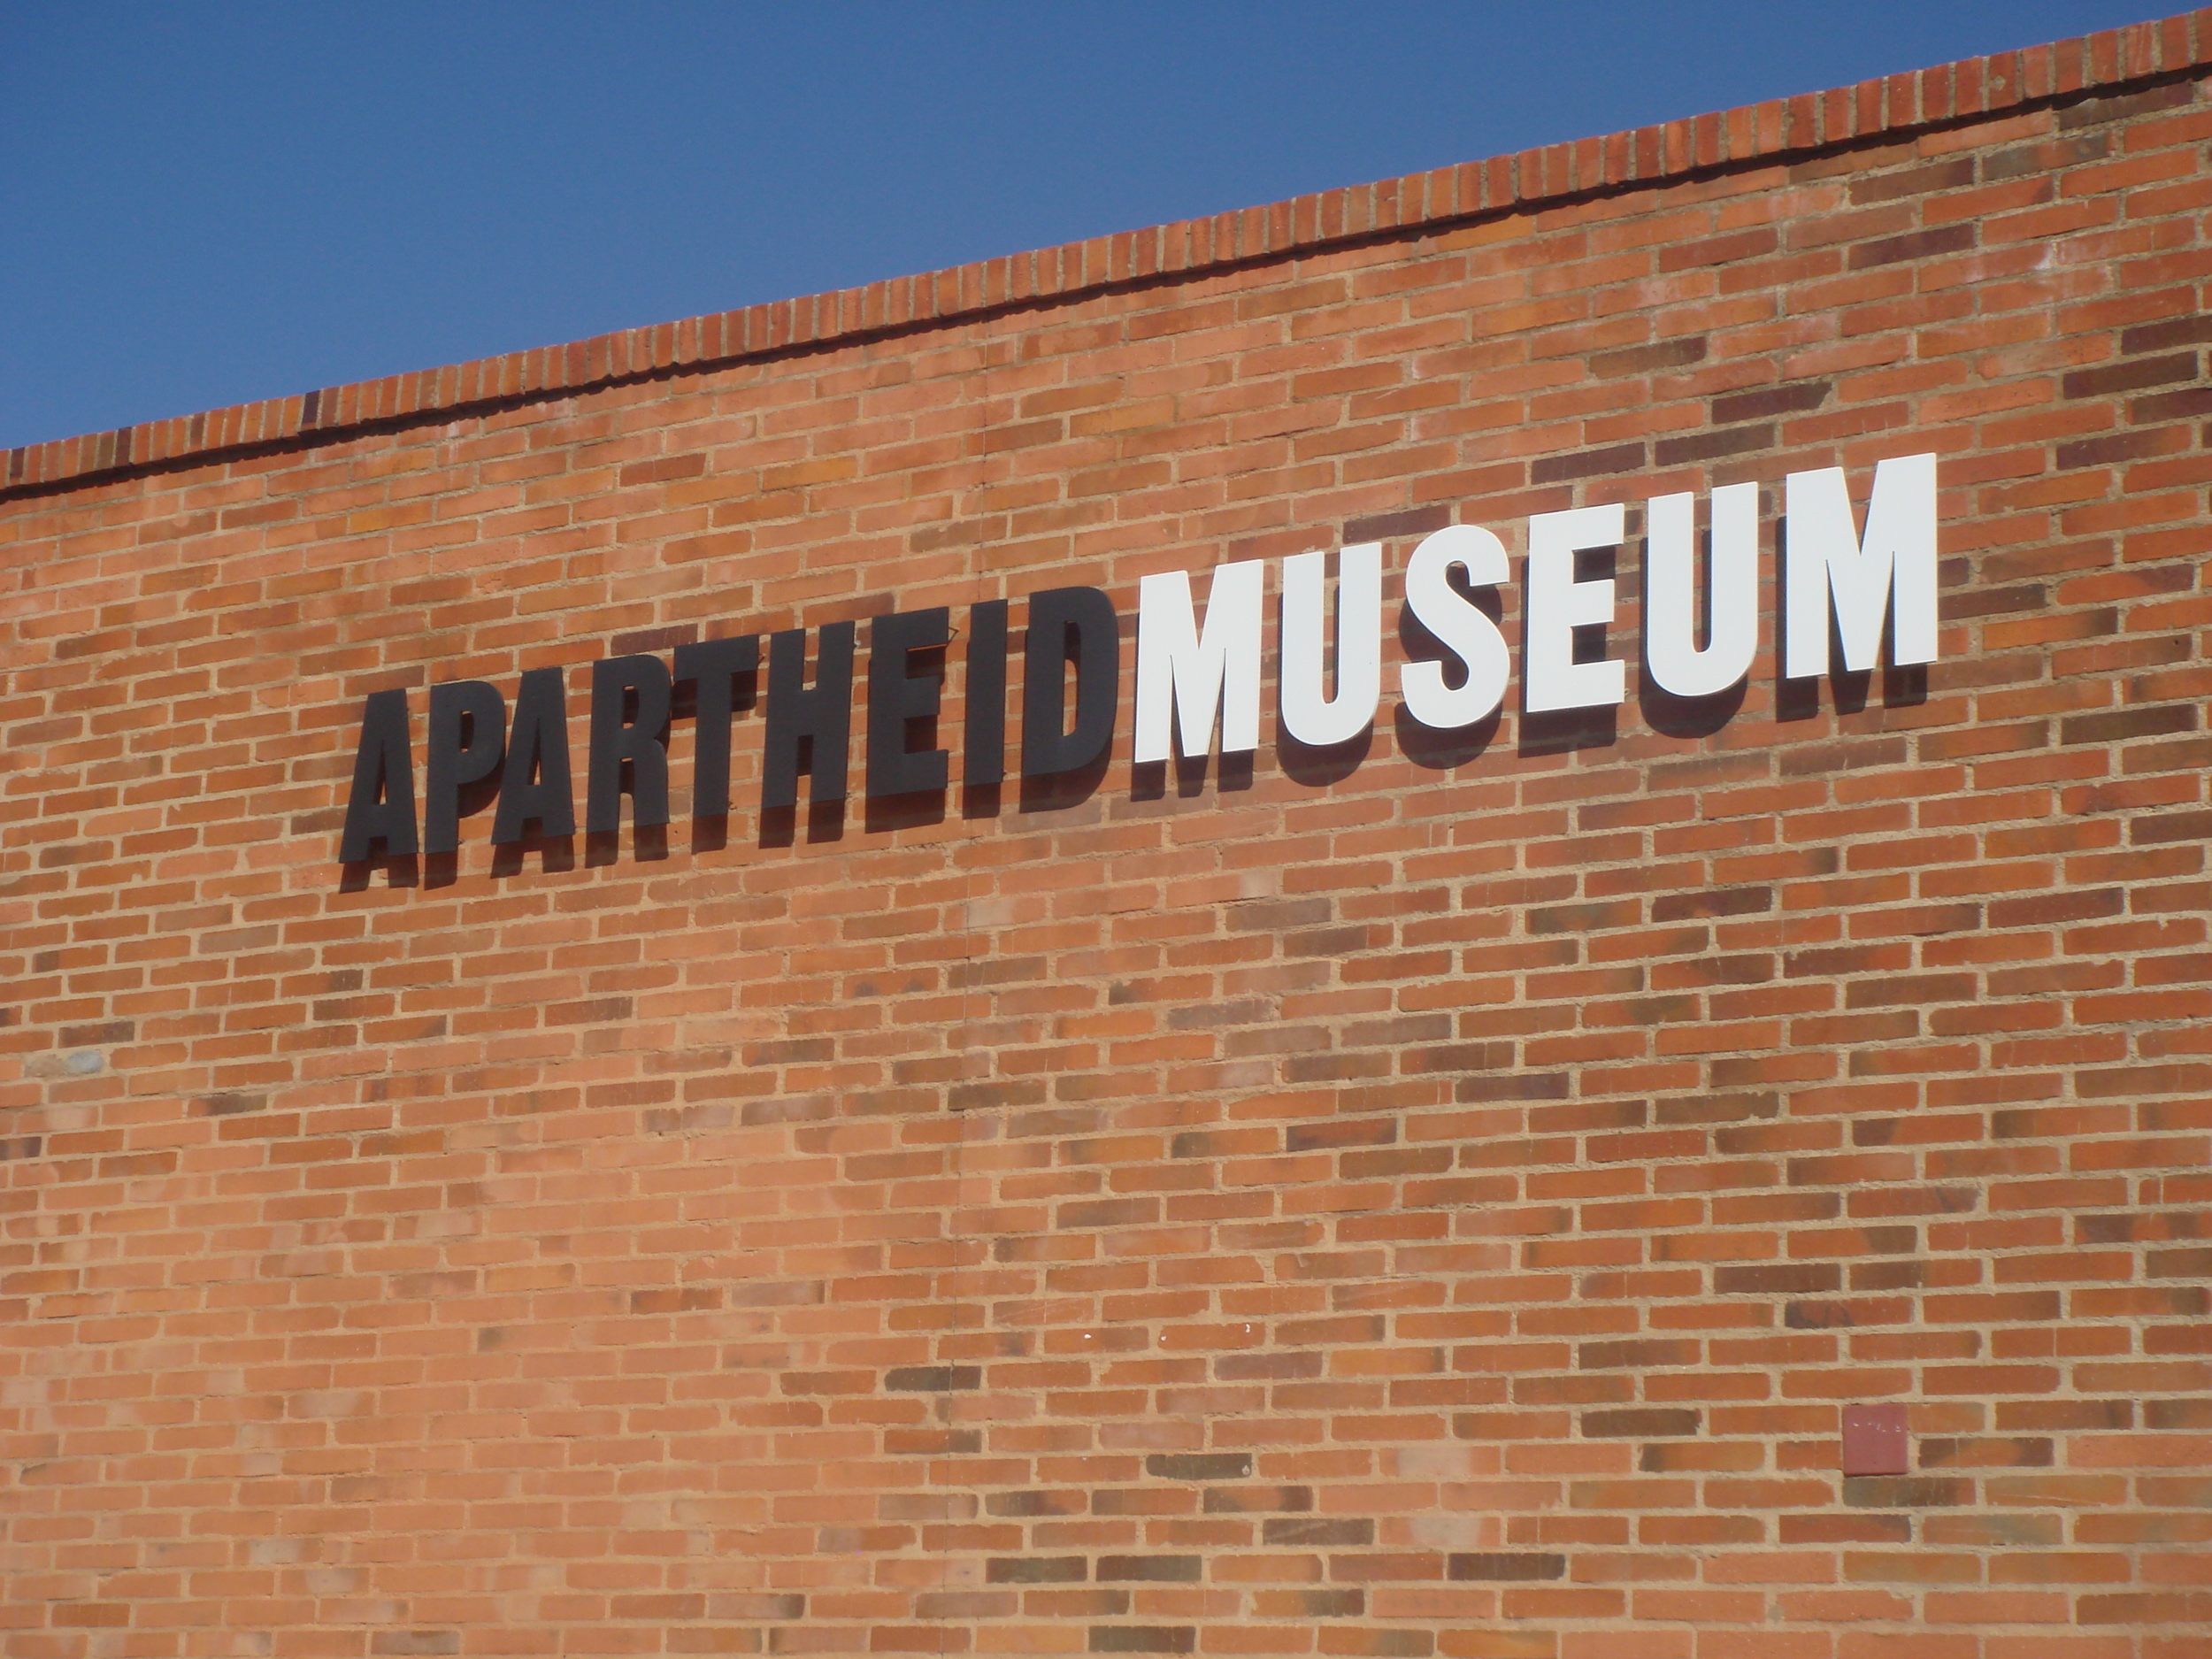
Apartheid Museum
South Africa 1 015
Within the next couple of days we learned more about South Africa’s suppressive history and visited the Apartheid Museum.
In 1950 racial segregation between white South Africans and nonwhite South Africans (a majority of the population) became legal when the National Party gained control of the government and began to rule with intense white supremacy. The legislation of this was called apartheid.
As we walked into the museum we saw different artifacts from the apartheid. I recall the arches above the doorways to the exhibits labeled as “whites” and “non-whites” – from the start it was clear that this was the theme.

South Africa 1 023
I imagine it’s always hard to really understand the Civil Rights era in America because growing up in the nineties I never knew differently. But because Apartheid in South Africa had only ended in 1994, the memories of oppression were still fresh.
The museum was especially powerful, highlighting the famous protests of young students against the government, the segregation of everyday life, and the violence that took place for almost half a century.
Why it’s a must: The Apartheid was a big piece of South Africa’s history and explains why the country has been so late to develop and the characteristics of its population. For me, visiting the Apartheid Museum was as powerful as visiting the Holocaust Museum in Washington, DC.
Kruger National Park
After about four days in Johannesburg, we began moving our way north to Kruger National Park. I think it’s just about everyone’s dream to go on safari in Africa. And it totally was. Because it was Southern Africa’s winter, we lucked out our entire stay there.

South Africa 1 372 - Copy
We arrived to the Hoyo Hoyo Safari Lodge and I must say it wasn’t anything like I expected. We stayed in cabin tents on the residential grounds of the private reserve area of the national park and there were even wild hogs (so cute!) running about.
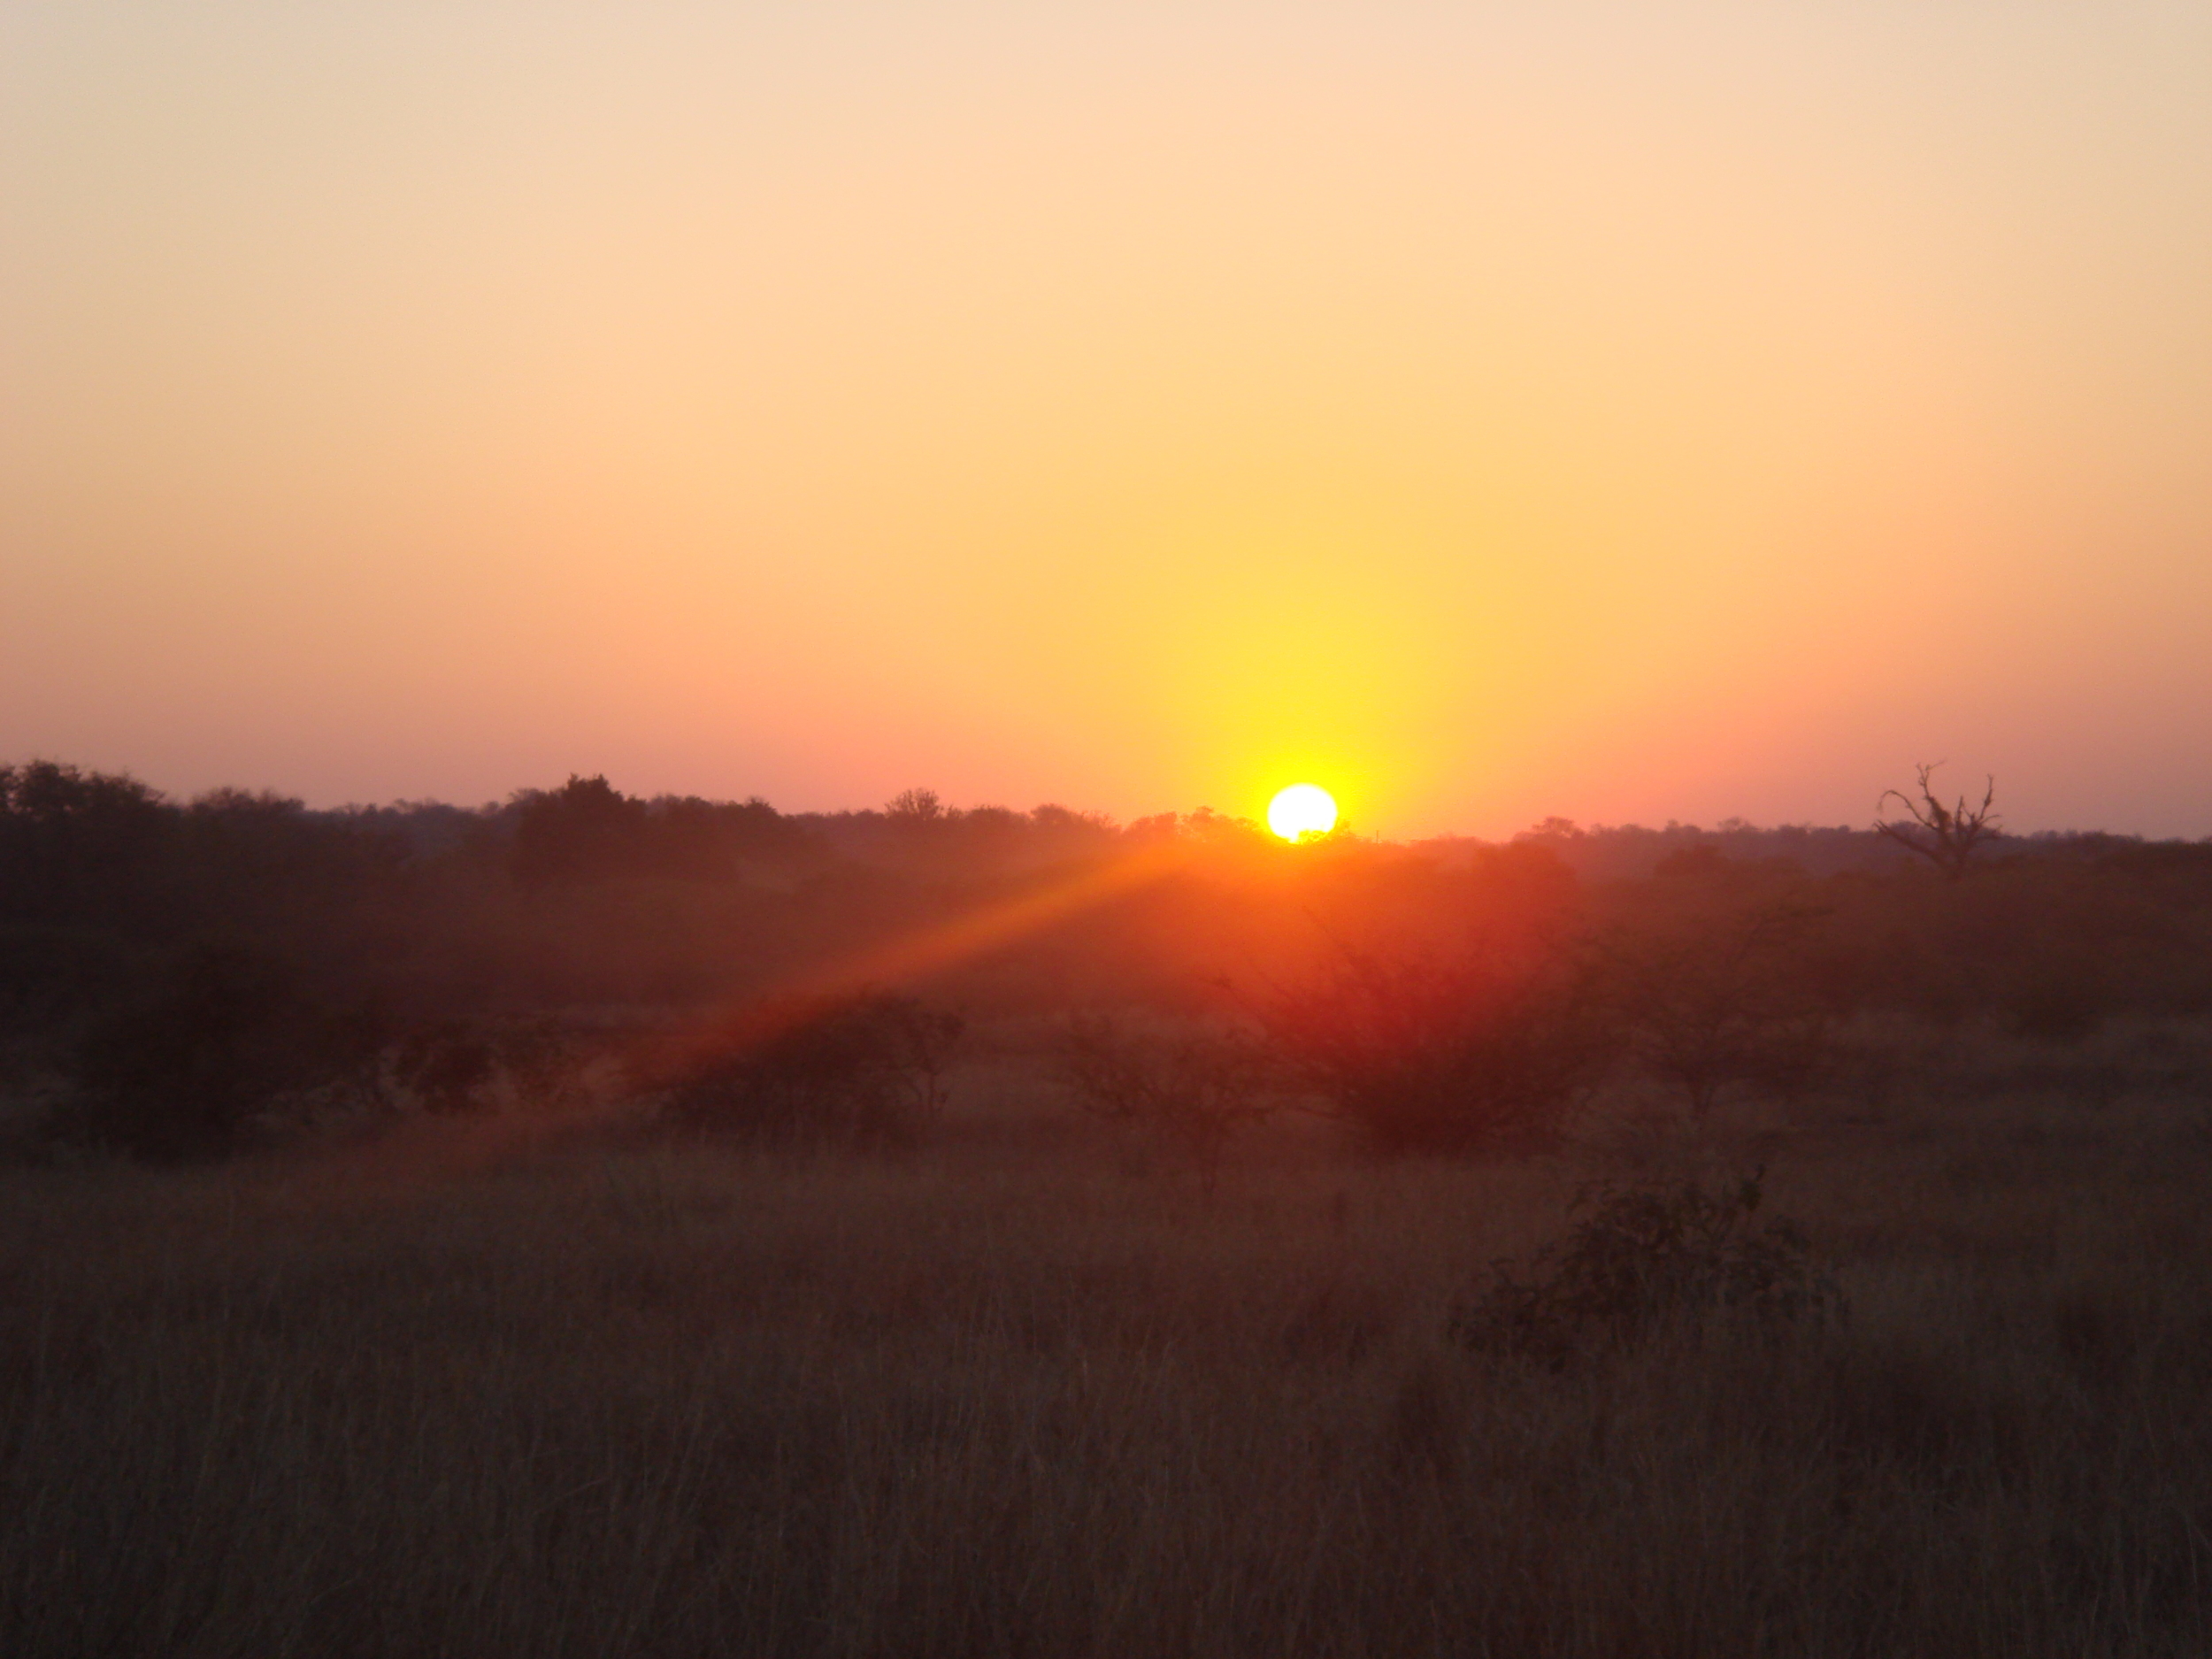
Most of our time at Hoyo Hoyo was spent on safari. Our first time we saw a pride of lions feasting on wildebeest and we started every morning with a sunrise safari to not only catch the morning sun – cue the “Circle of Life” – but to spy on giraffes and elephants.
South Africa 1 487

South Africa 1 348
My experience on the safari was nothing short of incredible. There were guides to take us on bush walks, educating us on the different plants and tracking patterns of the wildlife in the park. On one drive we actually got out of our jeep and stalked a pregnant leopard on foot!
Why it’s a must: Come on. It’s an African safari. There is nothing cooler (or more ethical, I might add) than seeing animals in their natural habits. No less seeing animals you only dream about in the movies. While I was there I tried some ethnic foods such as impala and various types of native fruits – food I’d never have anywhere else.
Cape Town
After leaving Hoyo Hoyo we drove back to Johannesburg (a killer 8-hour drive through the South Afrin countryside – at least we got to see sites like God’s window and stand at the top of some beautiful cliffs) to fly out to Cape Town.
Random: I will say right now that the first time I tried any type of curry was on South African Airlines. And it was pretty darn good.
When we arrived in Cape Town, I realized that the city was just as beautiful as I imagined it. Again, the city has so much history but it also laid claim on some devastatingly beautiful landscapes. During our time there we visited Robben Island to see where Nelson Mandela served his nineteen years. But my favorite was the outings we went on outside the city.

South Africa 1 540
Table Mountain
The morning we went to Table Mountain we took a cable car to the top. I mean, you knew when you were looking at it days before from below that it was pretty far up. But when we got to the top you could literally see everything from above, like Robben Island, the beautiful ocean, the city, and other parts of the coast.
It was an awesome feeling up on top of the world – at least that’s what it felt like. During the 2010 World Cup I remember seeing all the media shots of Table Mountain and it brought back a lot of (windy) memories.
Cape Good Hope

South Africa 3 & London 031
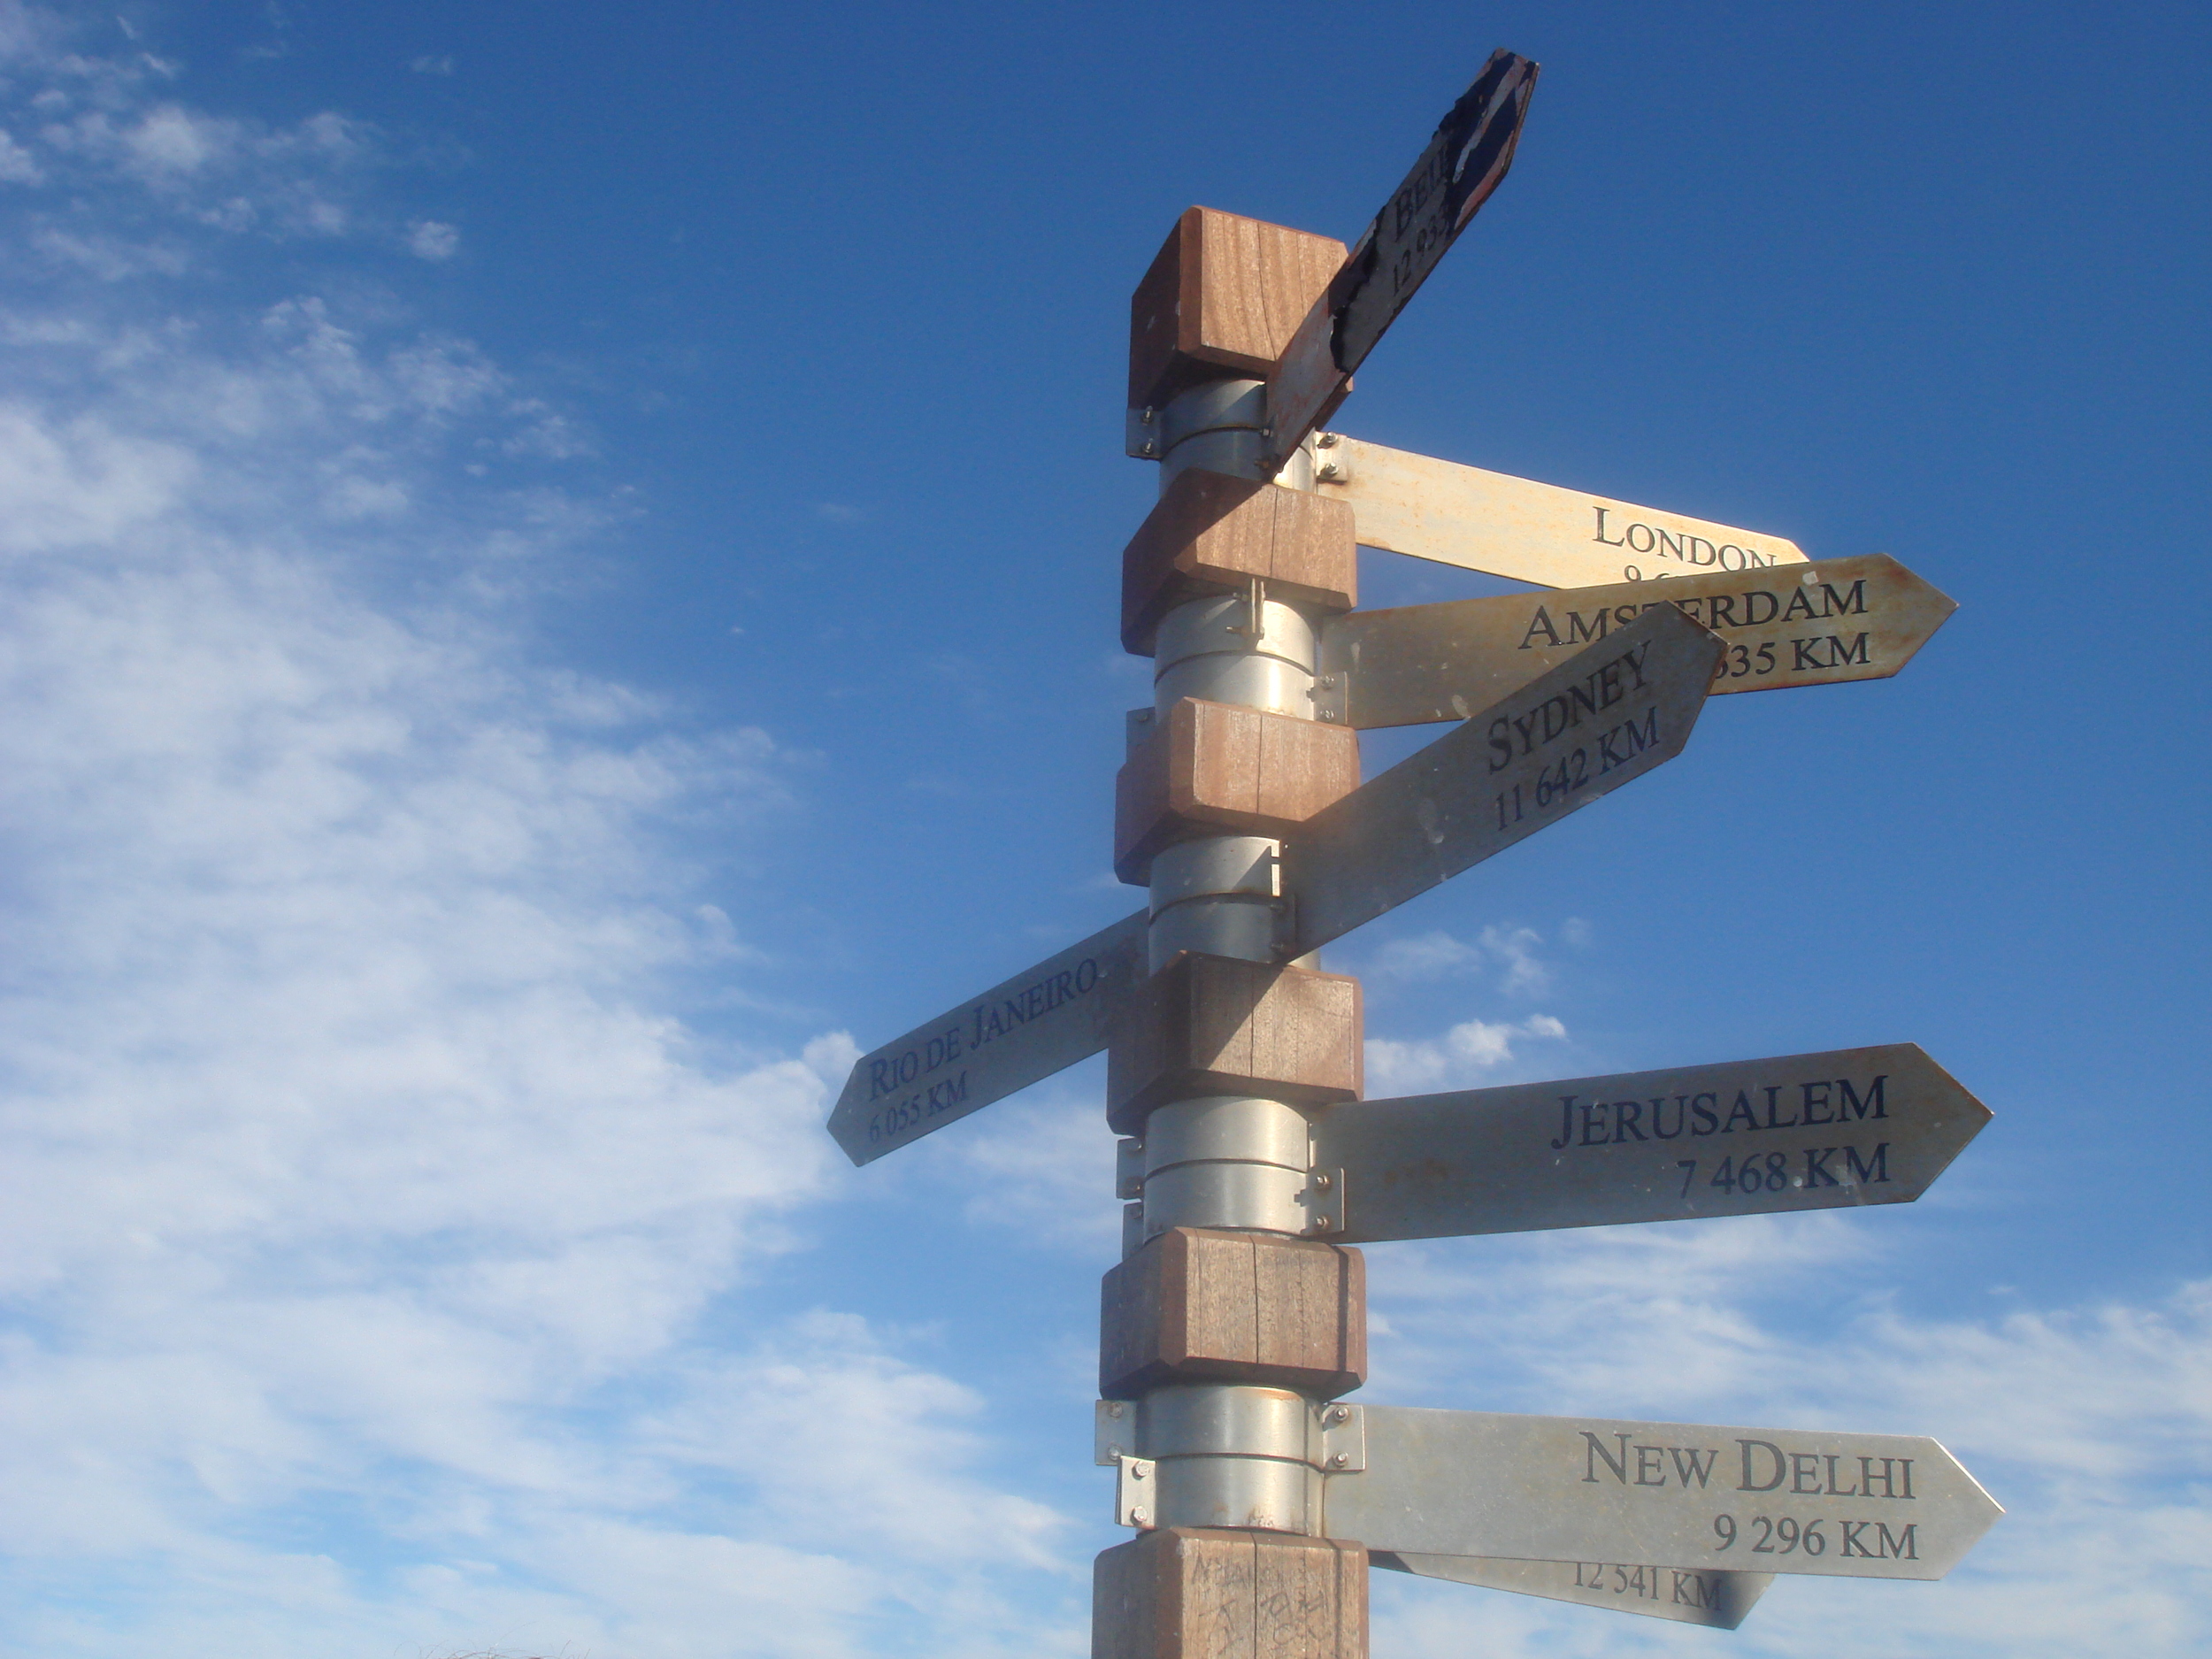
One of my other favorite parts of our time in Cape Town was driving up the coastal region to Cape of Good Hope. Cape of Good Hope, while it is commonly mistaken as the southern most tip of Africa, it has always been a point of significance for sailors, mainly because of its beauty as they begin to round the coast. Again, hiking up in this area was absolutely beautiful, especially with panoramic views.
South Africa 3 & London 026
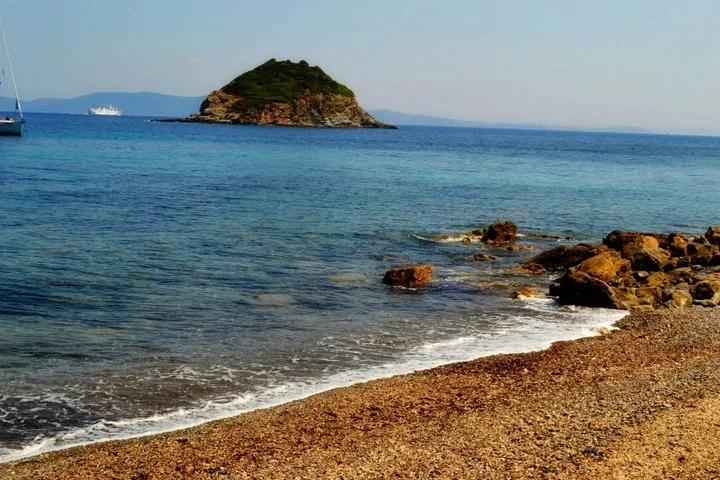
Boulders Beach
How often do you get to see penguins in AFRICA? I didn’t even think that this was a possibility. But then again I didn’t even realize that June was Africa’s winter. So when we arrived at Boulders Beach to see some penguins, I was nothing short of amazed.
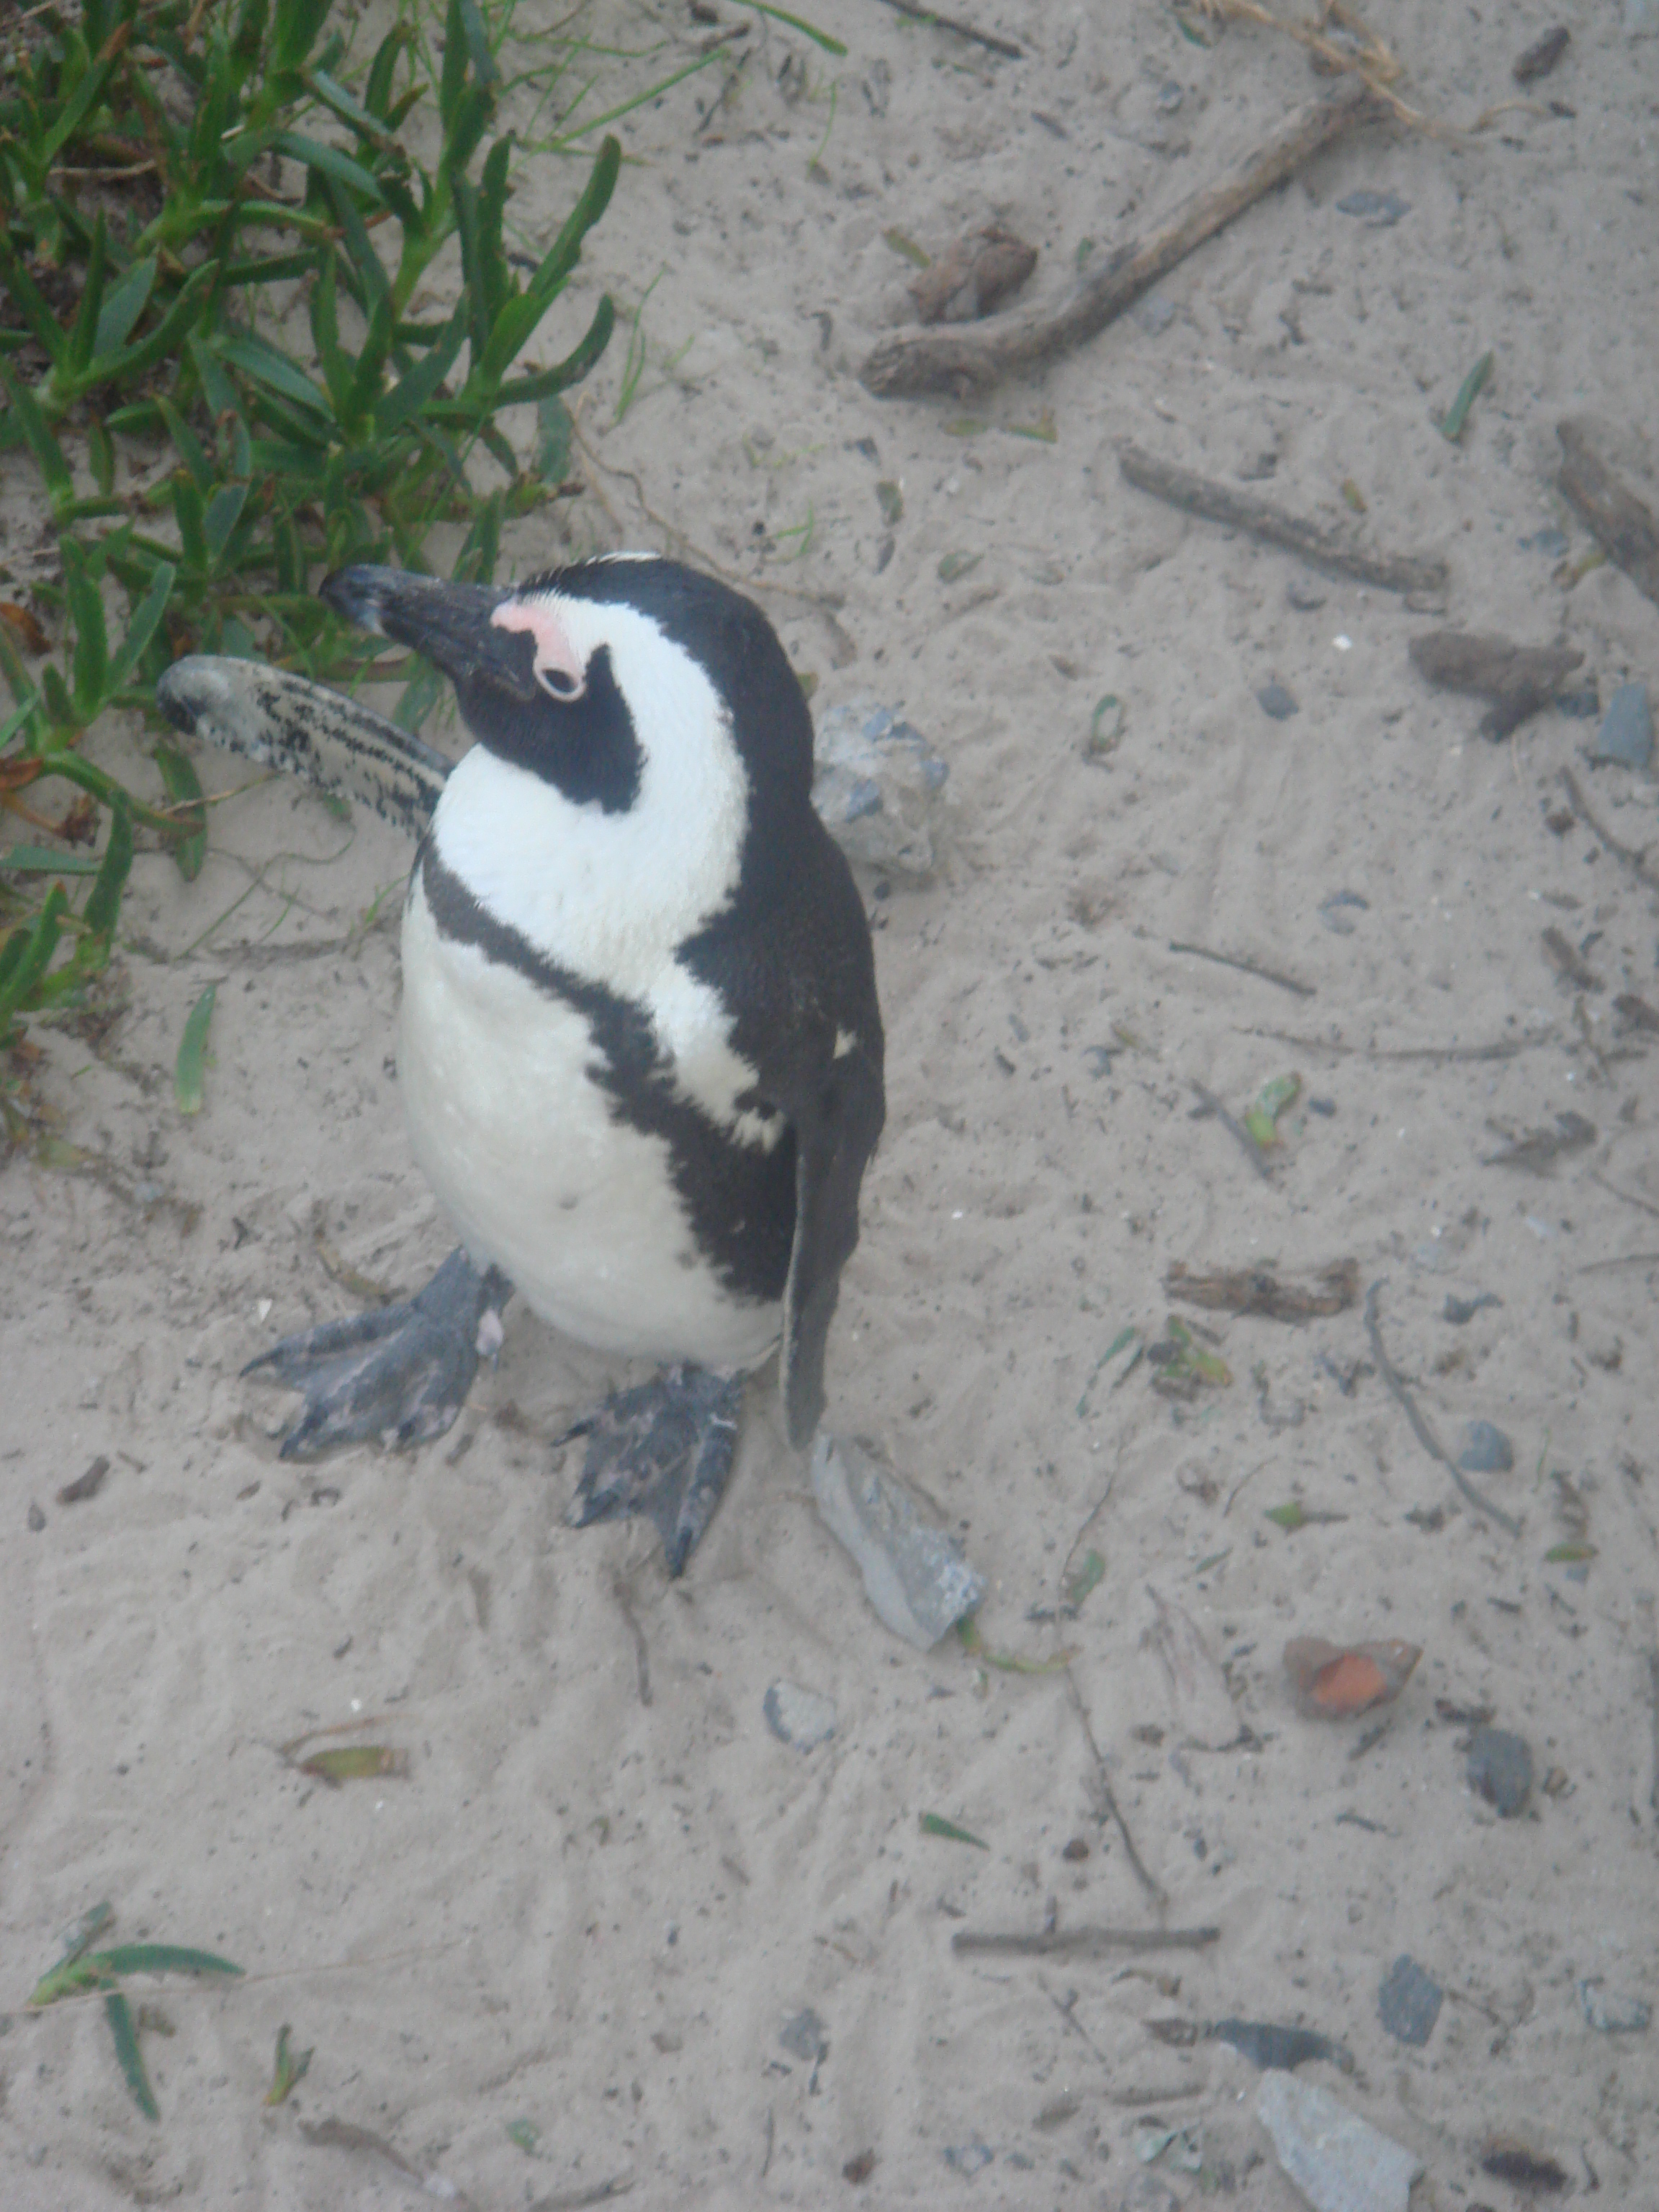
South Africa 3 & London 039
Why these were a must: The entire country of South Africa is so different from anything I’ve ever experienced. It was kind of refreshing to be so close to the ocean after spending a whole week inland. The sites are breathtaking and you really see why so many people fall in love with Africa’s coastal cities.
But… What I wish I had done…
If I could go back to South Africa there’s no question in my mind that I would go back on safari and return to Cape Town. But I’d also do the following:

Shark Cage
Great White Shark cage diving – When we were in Cape Town we went on a boat ride to Seal Island. Little did I know that very close to there are the most Great White Shark-infested waters in the world. As naïve high schoolers do, we joked about dangling our cameras over the side of the boat, not realizing that there was the possibility of Great Whites roaming the waters below. Now, as a huge fan of Shark Week (go figure after that story, right?) I think after that experience all I’ve ever wanted to do was go back and get in those waters right next to those sharks. So ever since shark cage diving in South Africa has been at the top of my bucket list.
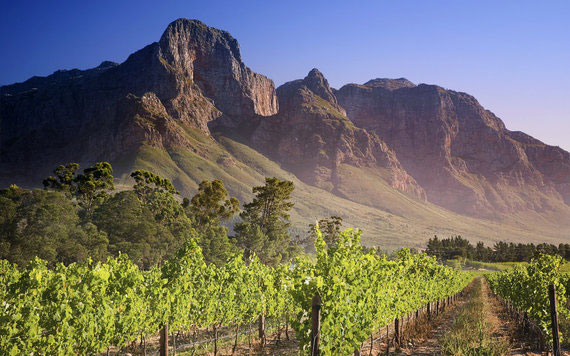
South African Vineyard
Wine tasting in Cape Town – Though I wasn’t old enough to really appreciate the countryside in South Africa, I’ve become well aware since that they have some pretty awesome vineyards producing some pretty savvy wines.
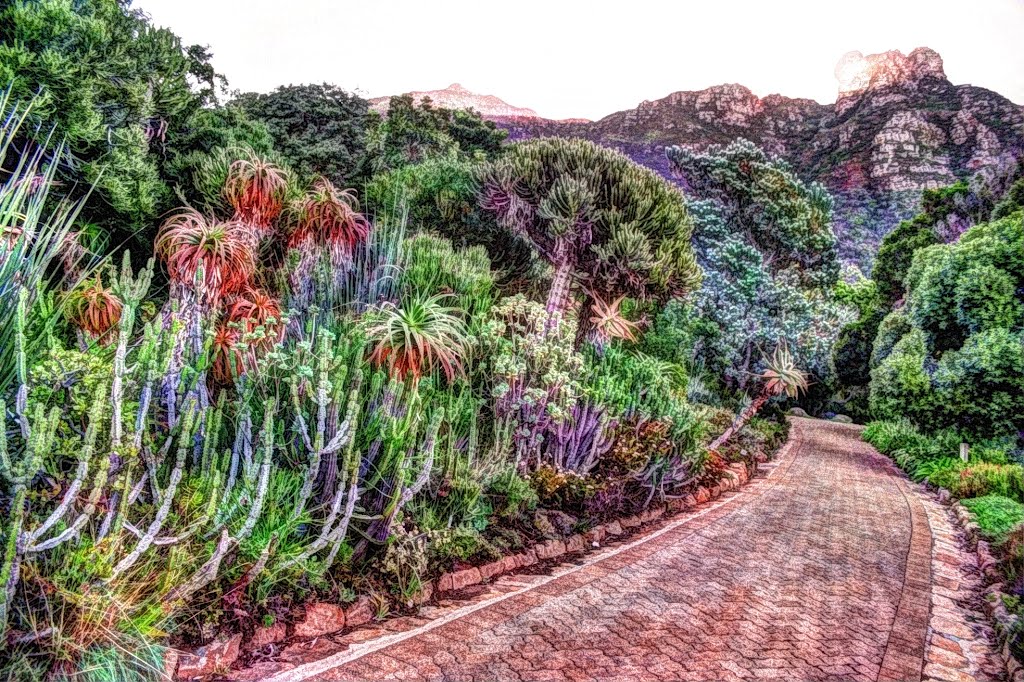
Kirstenbosch Garden
Kirstenbosch Botanical Garden – At some point in our time in Cape Town we decided pretty early on that the last thing we wanted to do was go see some flowers. So we didn’t. Looking back now, if I went back with friends or loved ones, I should’ve went. As a twenty-something I definitely think I have a bigger appreciation in exotic blooms and finely landscaped gardens.
I don’t know why it always seems so corny to me when I think it but I often return to the thought that I left my heart in Africa. Maybe it was because it was so long ago and high school Aryn had much more trivial issues that those of my 23-year-old self. But it was a truly amazing experience, especially for my first time outside of North America. But there’s so much of the continent that I am so excited to explore.
Photo credits: Aryn Versteegh


