How To Download Lightroom Presets: Desktop and Mobile

Hey, thanks so much for getting my presets! I put a lot of time into making these so I really hope you LOVE them :)
(Don’t have the presets yet? Get them here!)
TROPICAL DREAMS PRESET COLLECTION:
These presets include: BLACK SAND, PLAYA VENAO, CARTAGENA, BOCAS JUNGLE, PUNTA UVA, SAN BLAS BRIGHT, SAN BLAS DREAMS, SAN BLAS LIFE, SAN JOSE, and NEW YORK CITY


Important instructions - how to install Lightroom presets on desktop or mobile:
DESKTOP - Lightroom Classic CC
Download to computer and open the .zip file in your documents so the files are extracted. Select all 10 preset files and drag into your Lightroom app. They will show under the "User Presets" panel. You may need to quit Lightroom and restart if they don’t appear immediately.
DESKTOP - Lightroom CC
Download to computer and open the .zip file so files are extracted. In Lightroom CC, go to File > Import Profiles & Presets > select all the preset files > open. They will show under "User Presets" when you click the Presets panel.
Note: Desktop preset files won’t work on mobile and vice versa. The only way you can sync the two is if you import mobile files to the mobile app and sync to Lightroom CC on desktop. Lightroom Classic CC (different than Lightroom CC for desktop) will not sync mobile files.


Not sure which Lightroom app you have? The Lightroom Classic CC logo has sharp edges, whereas the Lightroom CC logo has rounded edges.
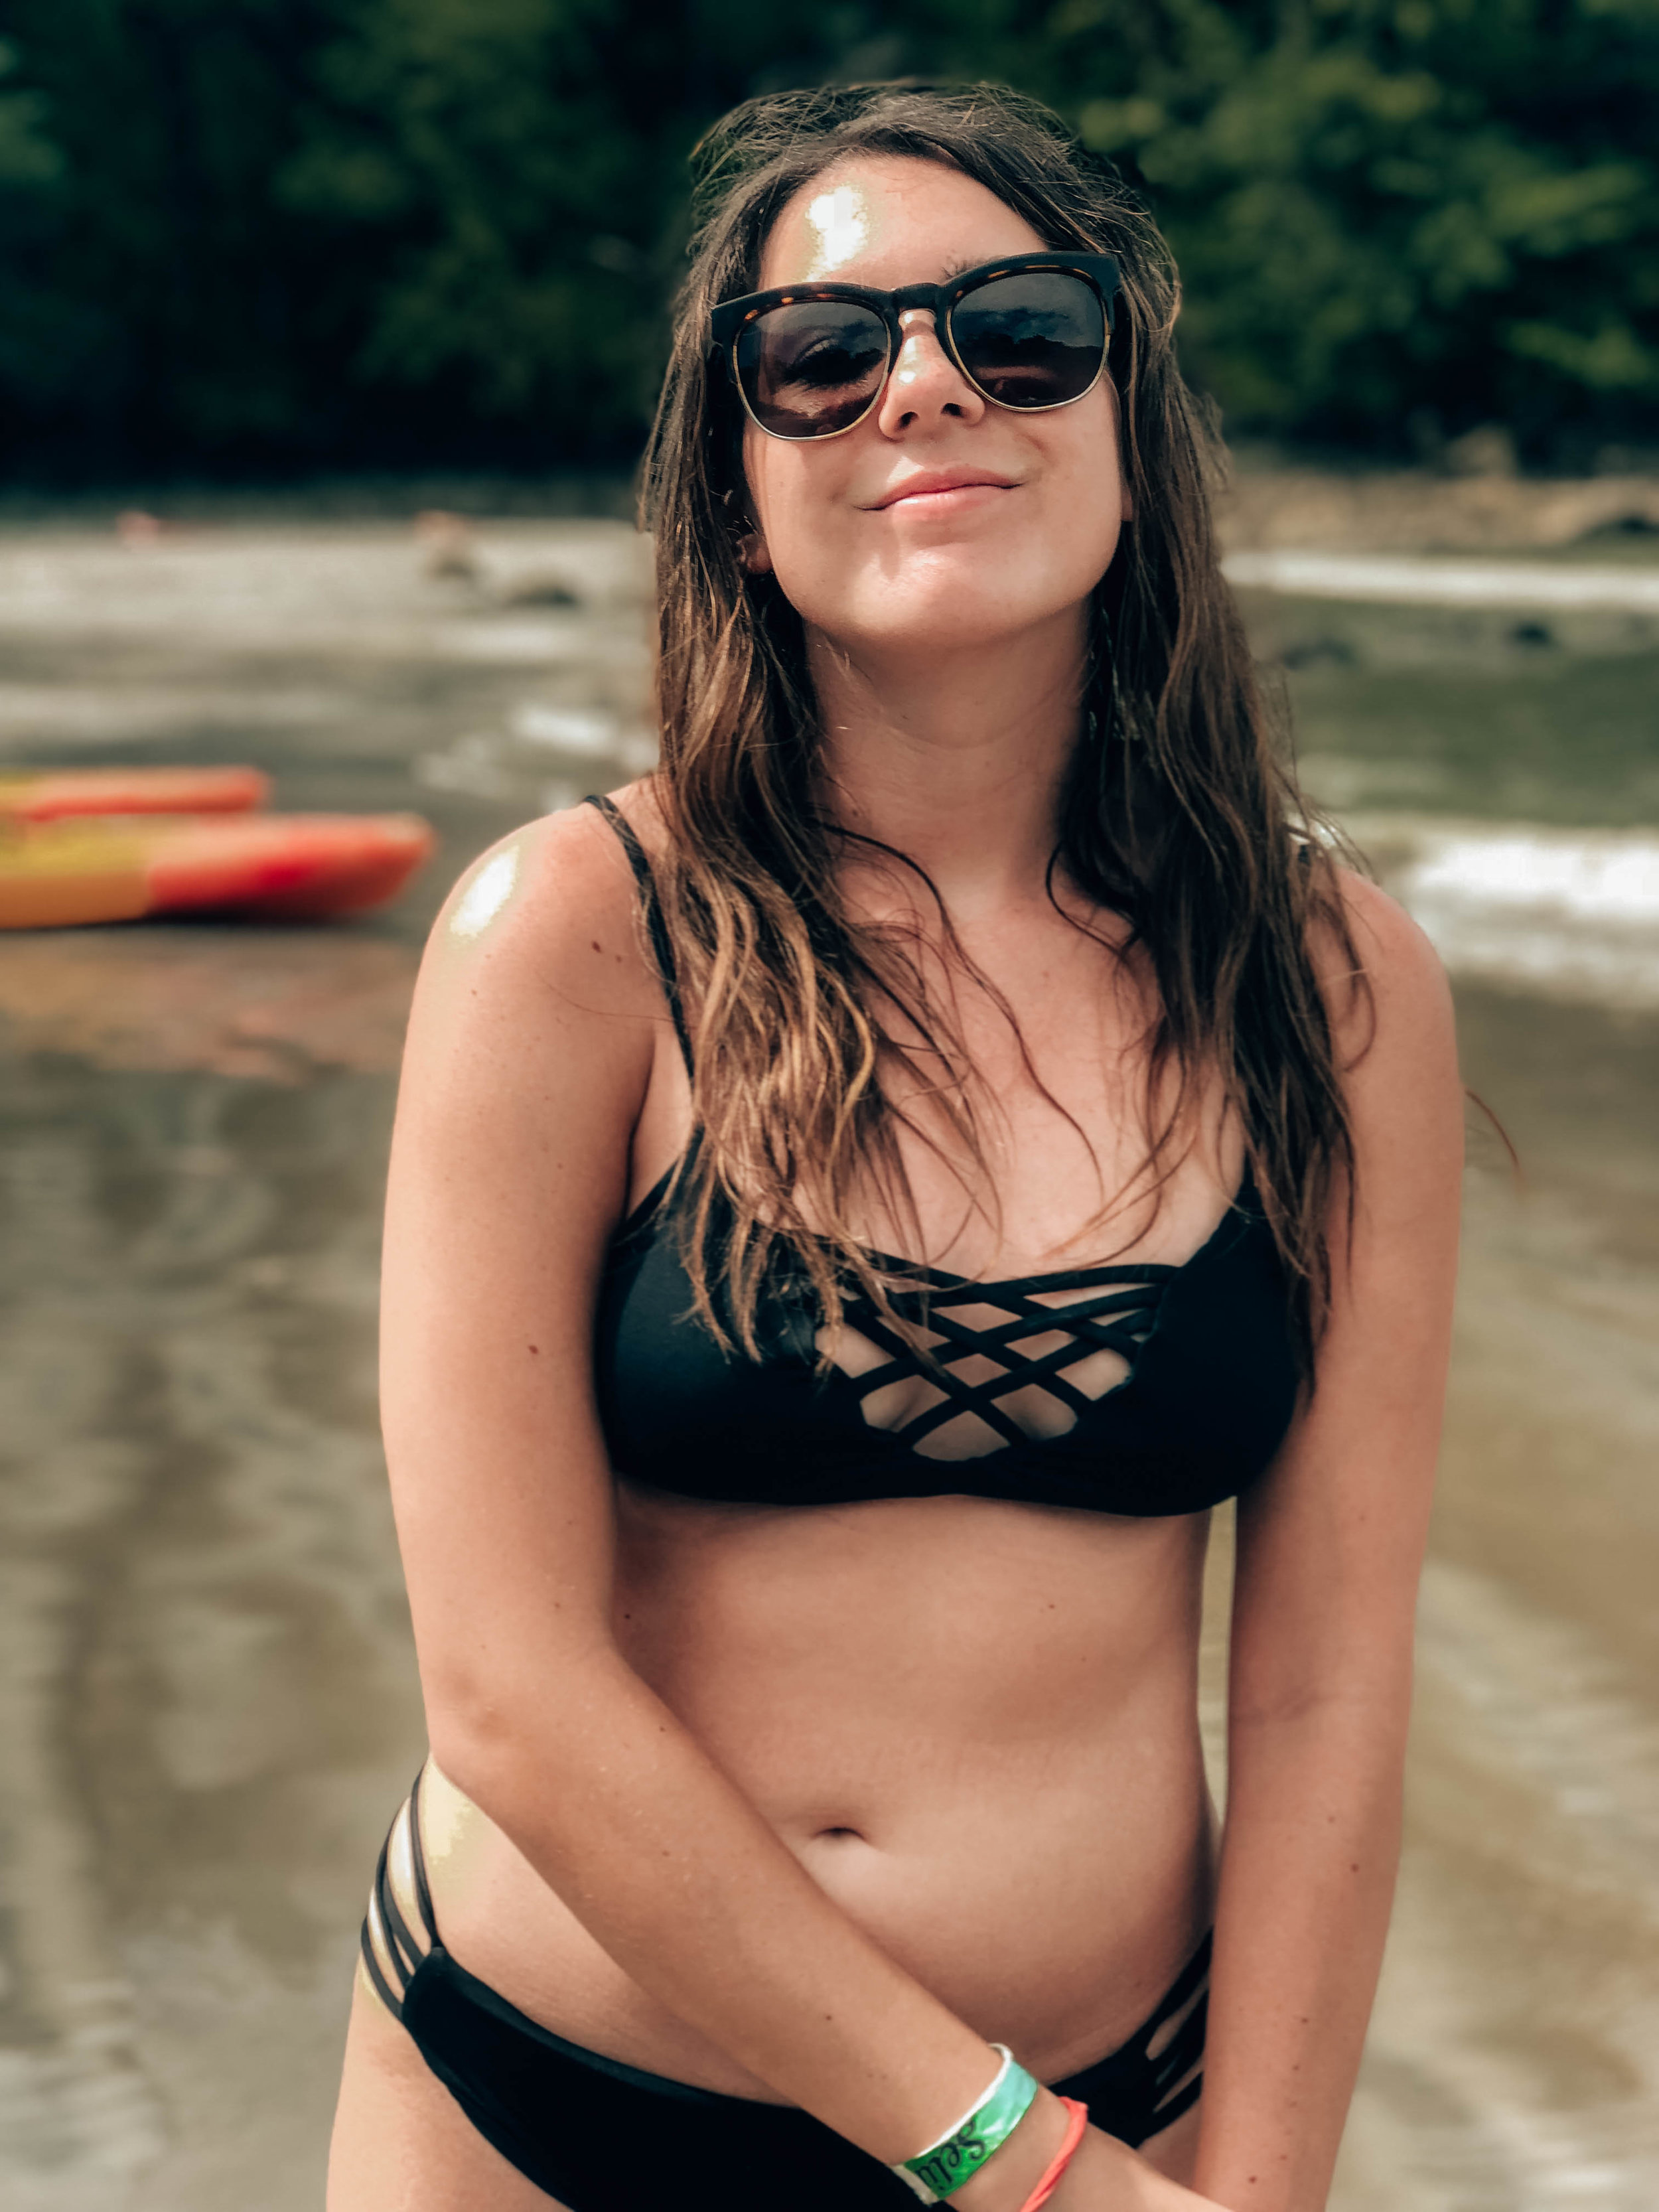
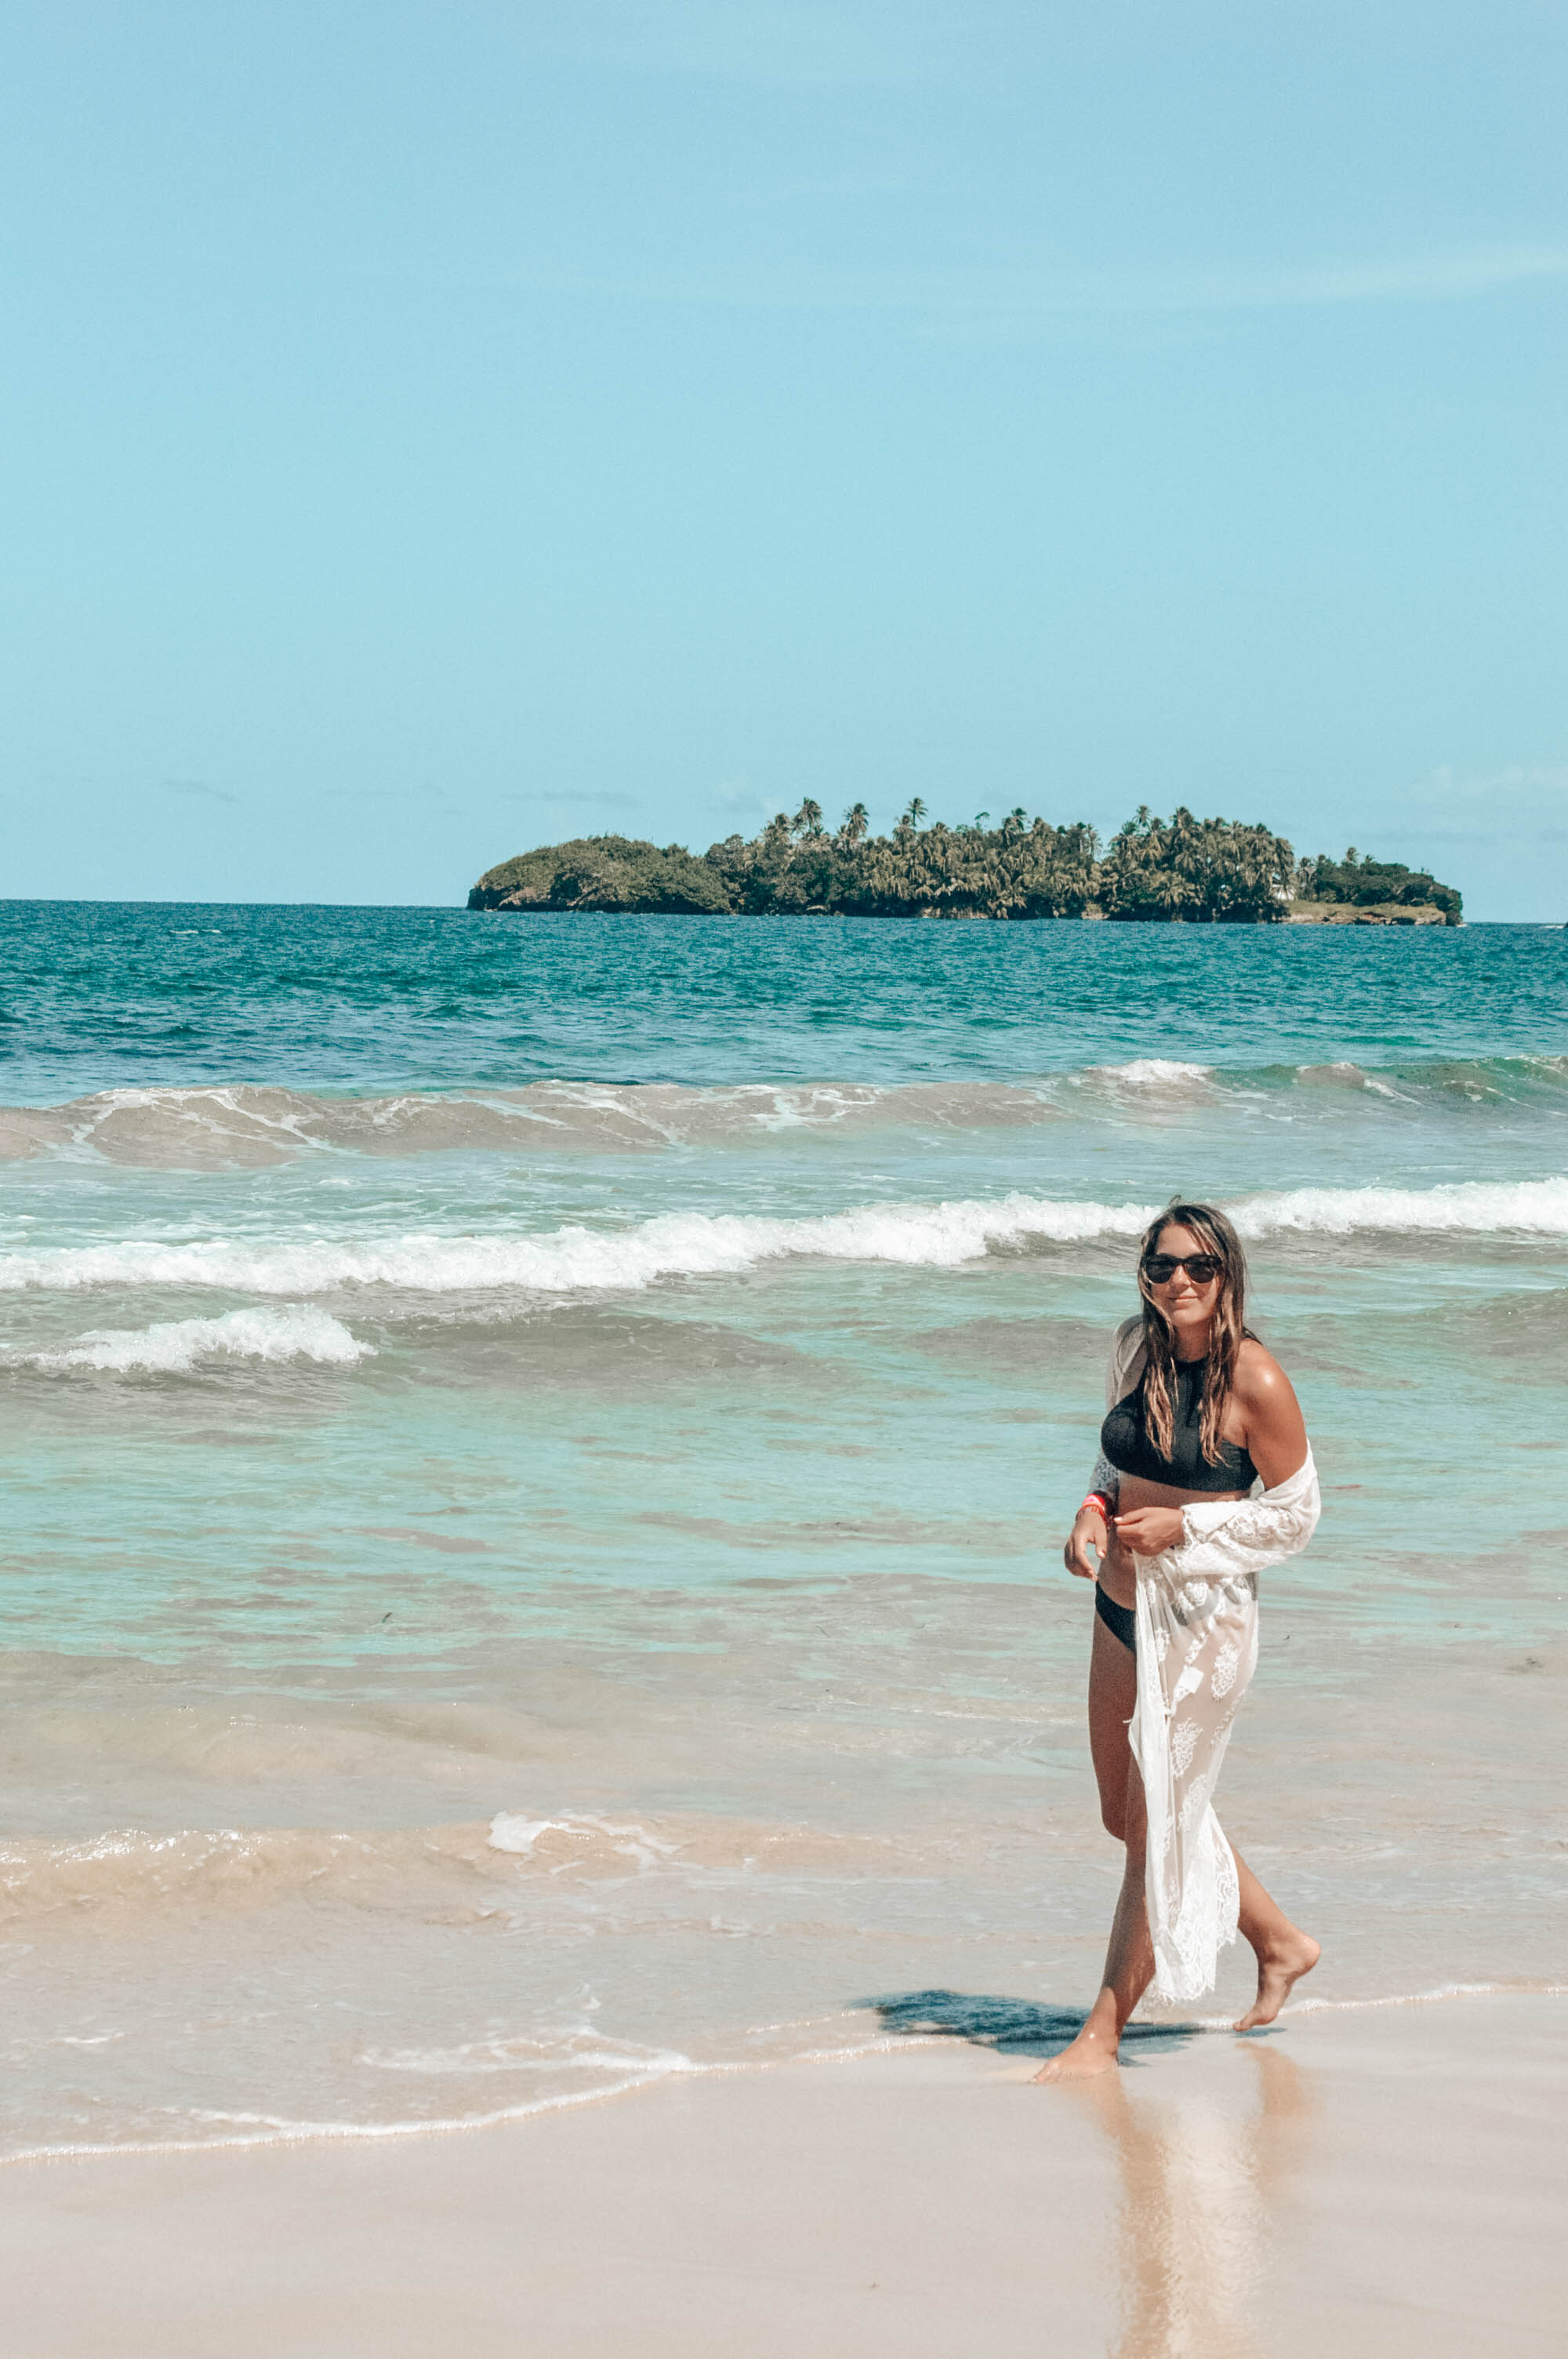

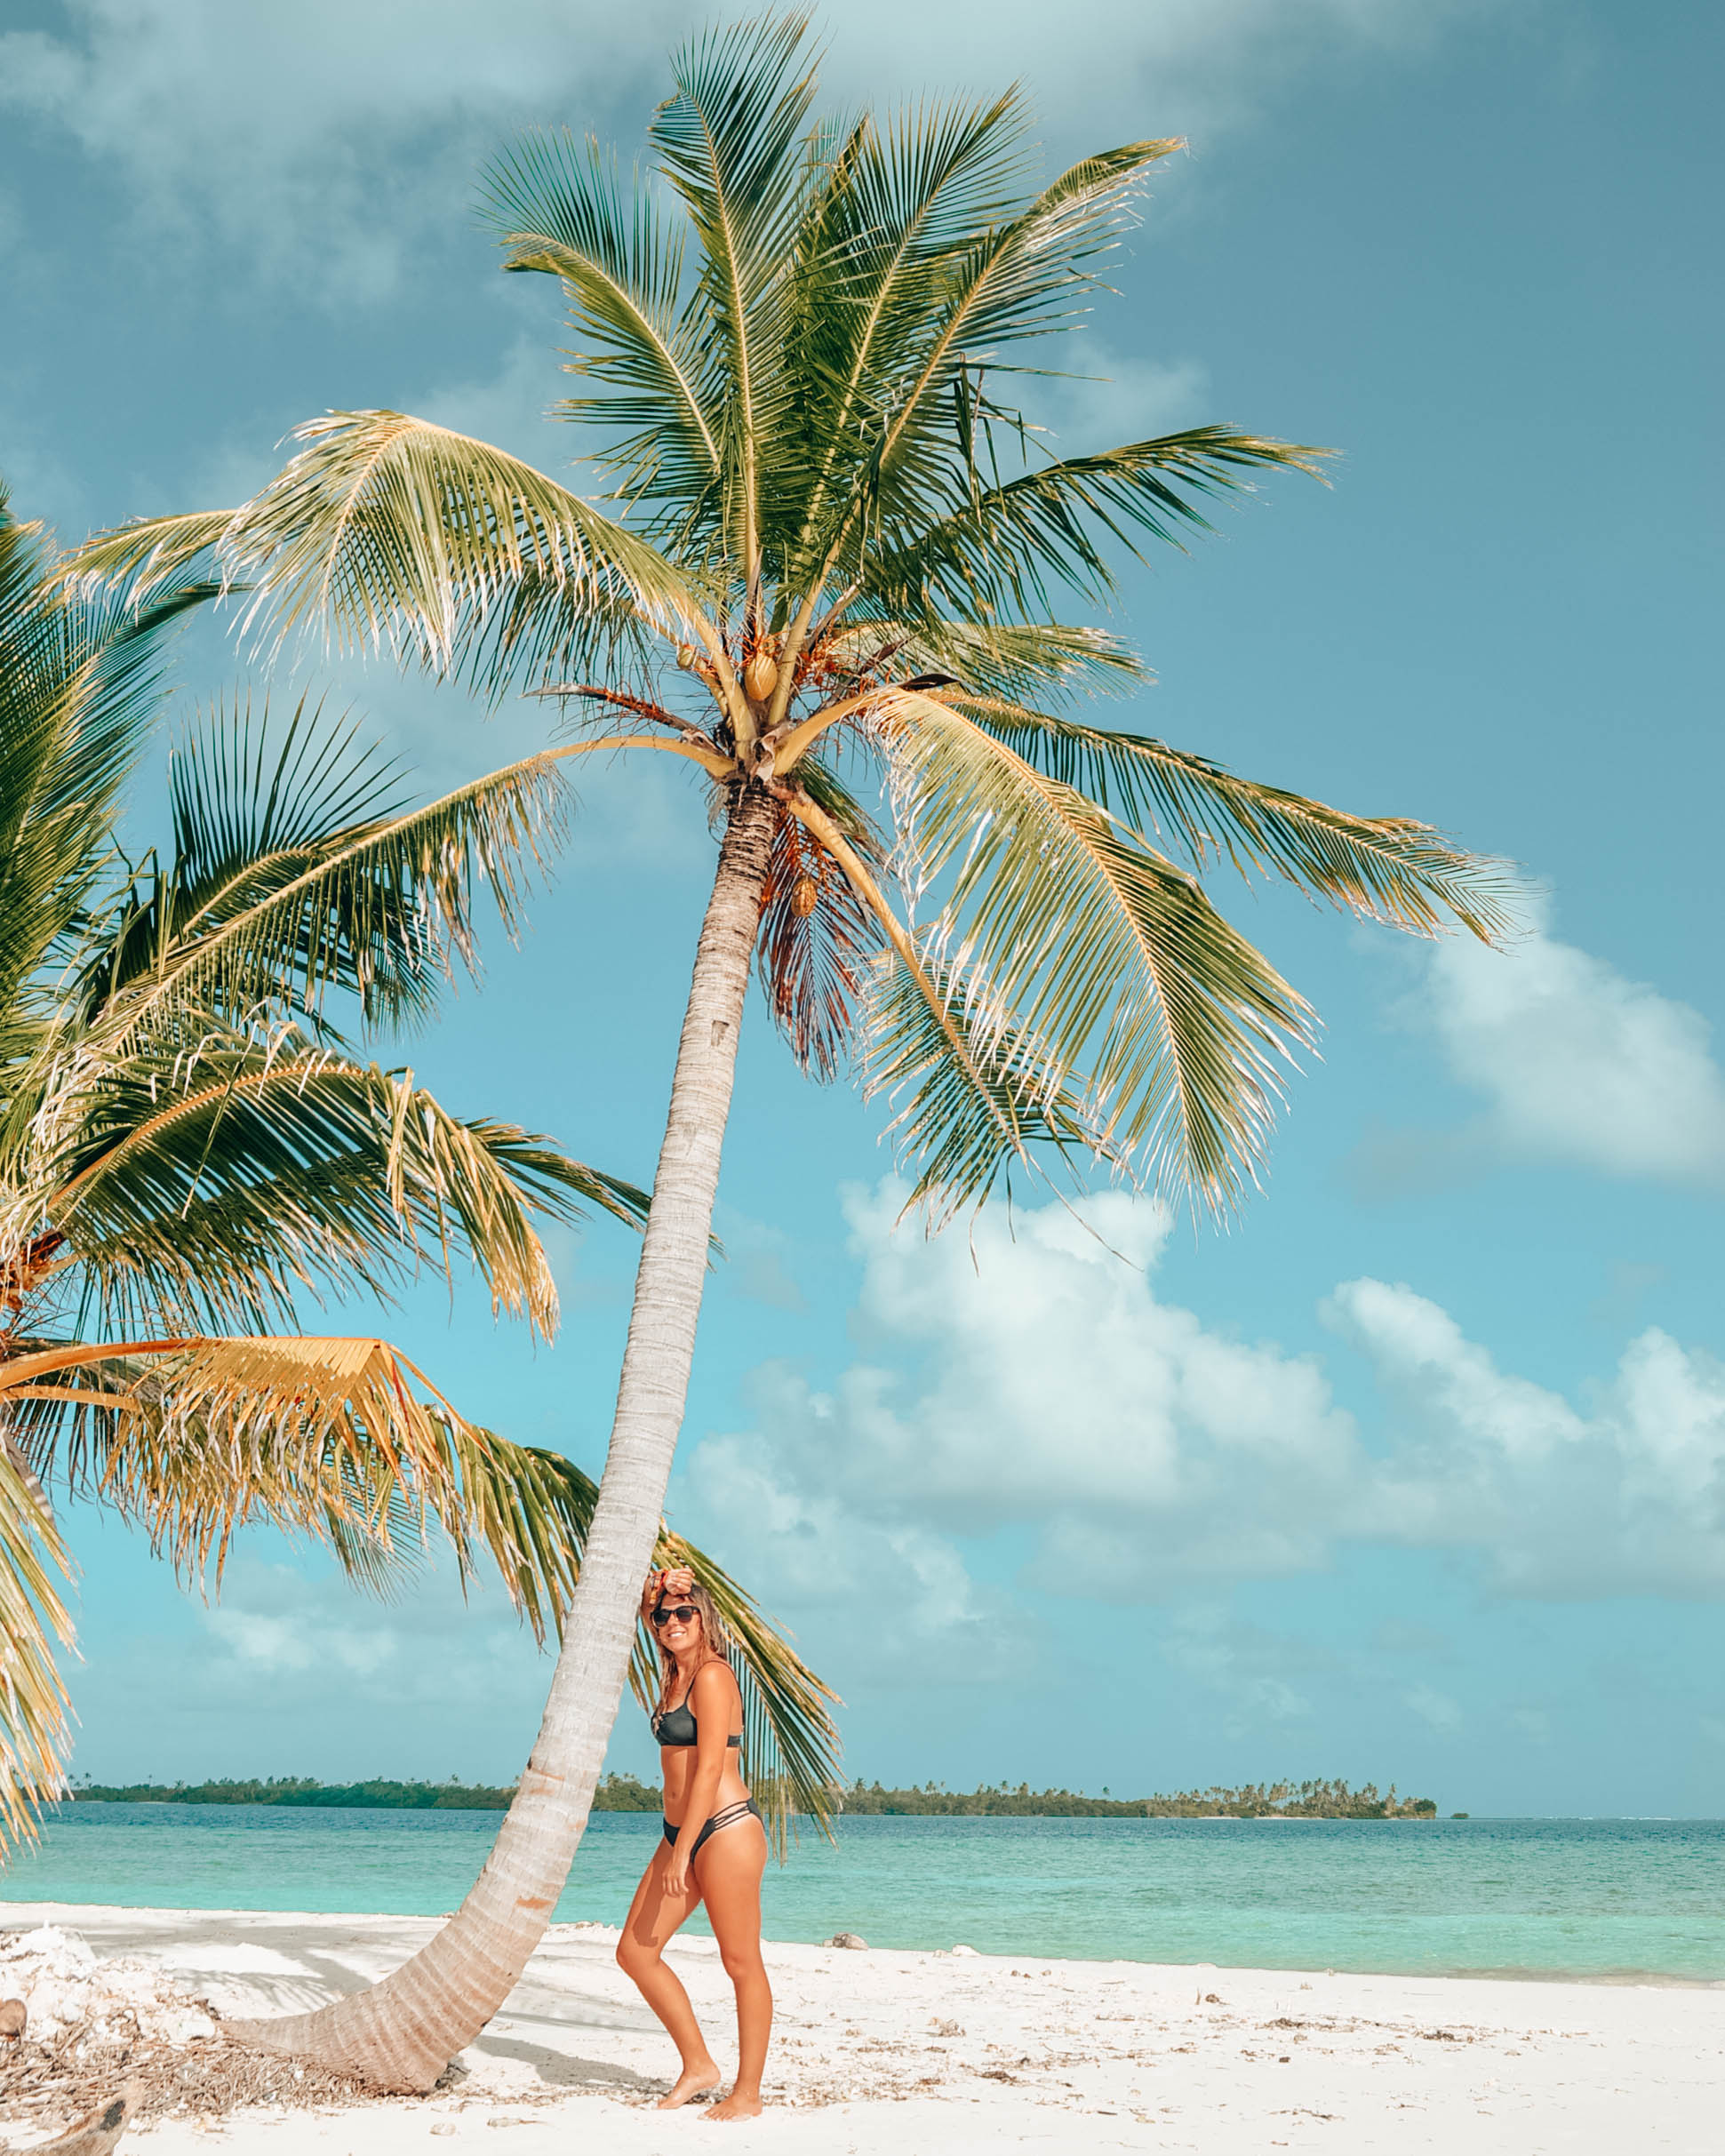
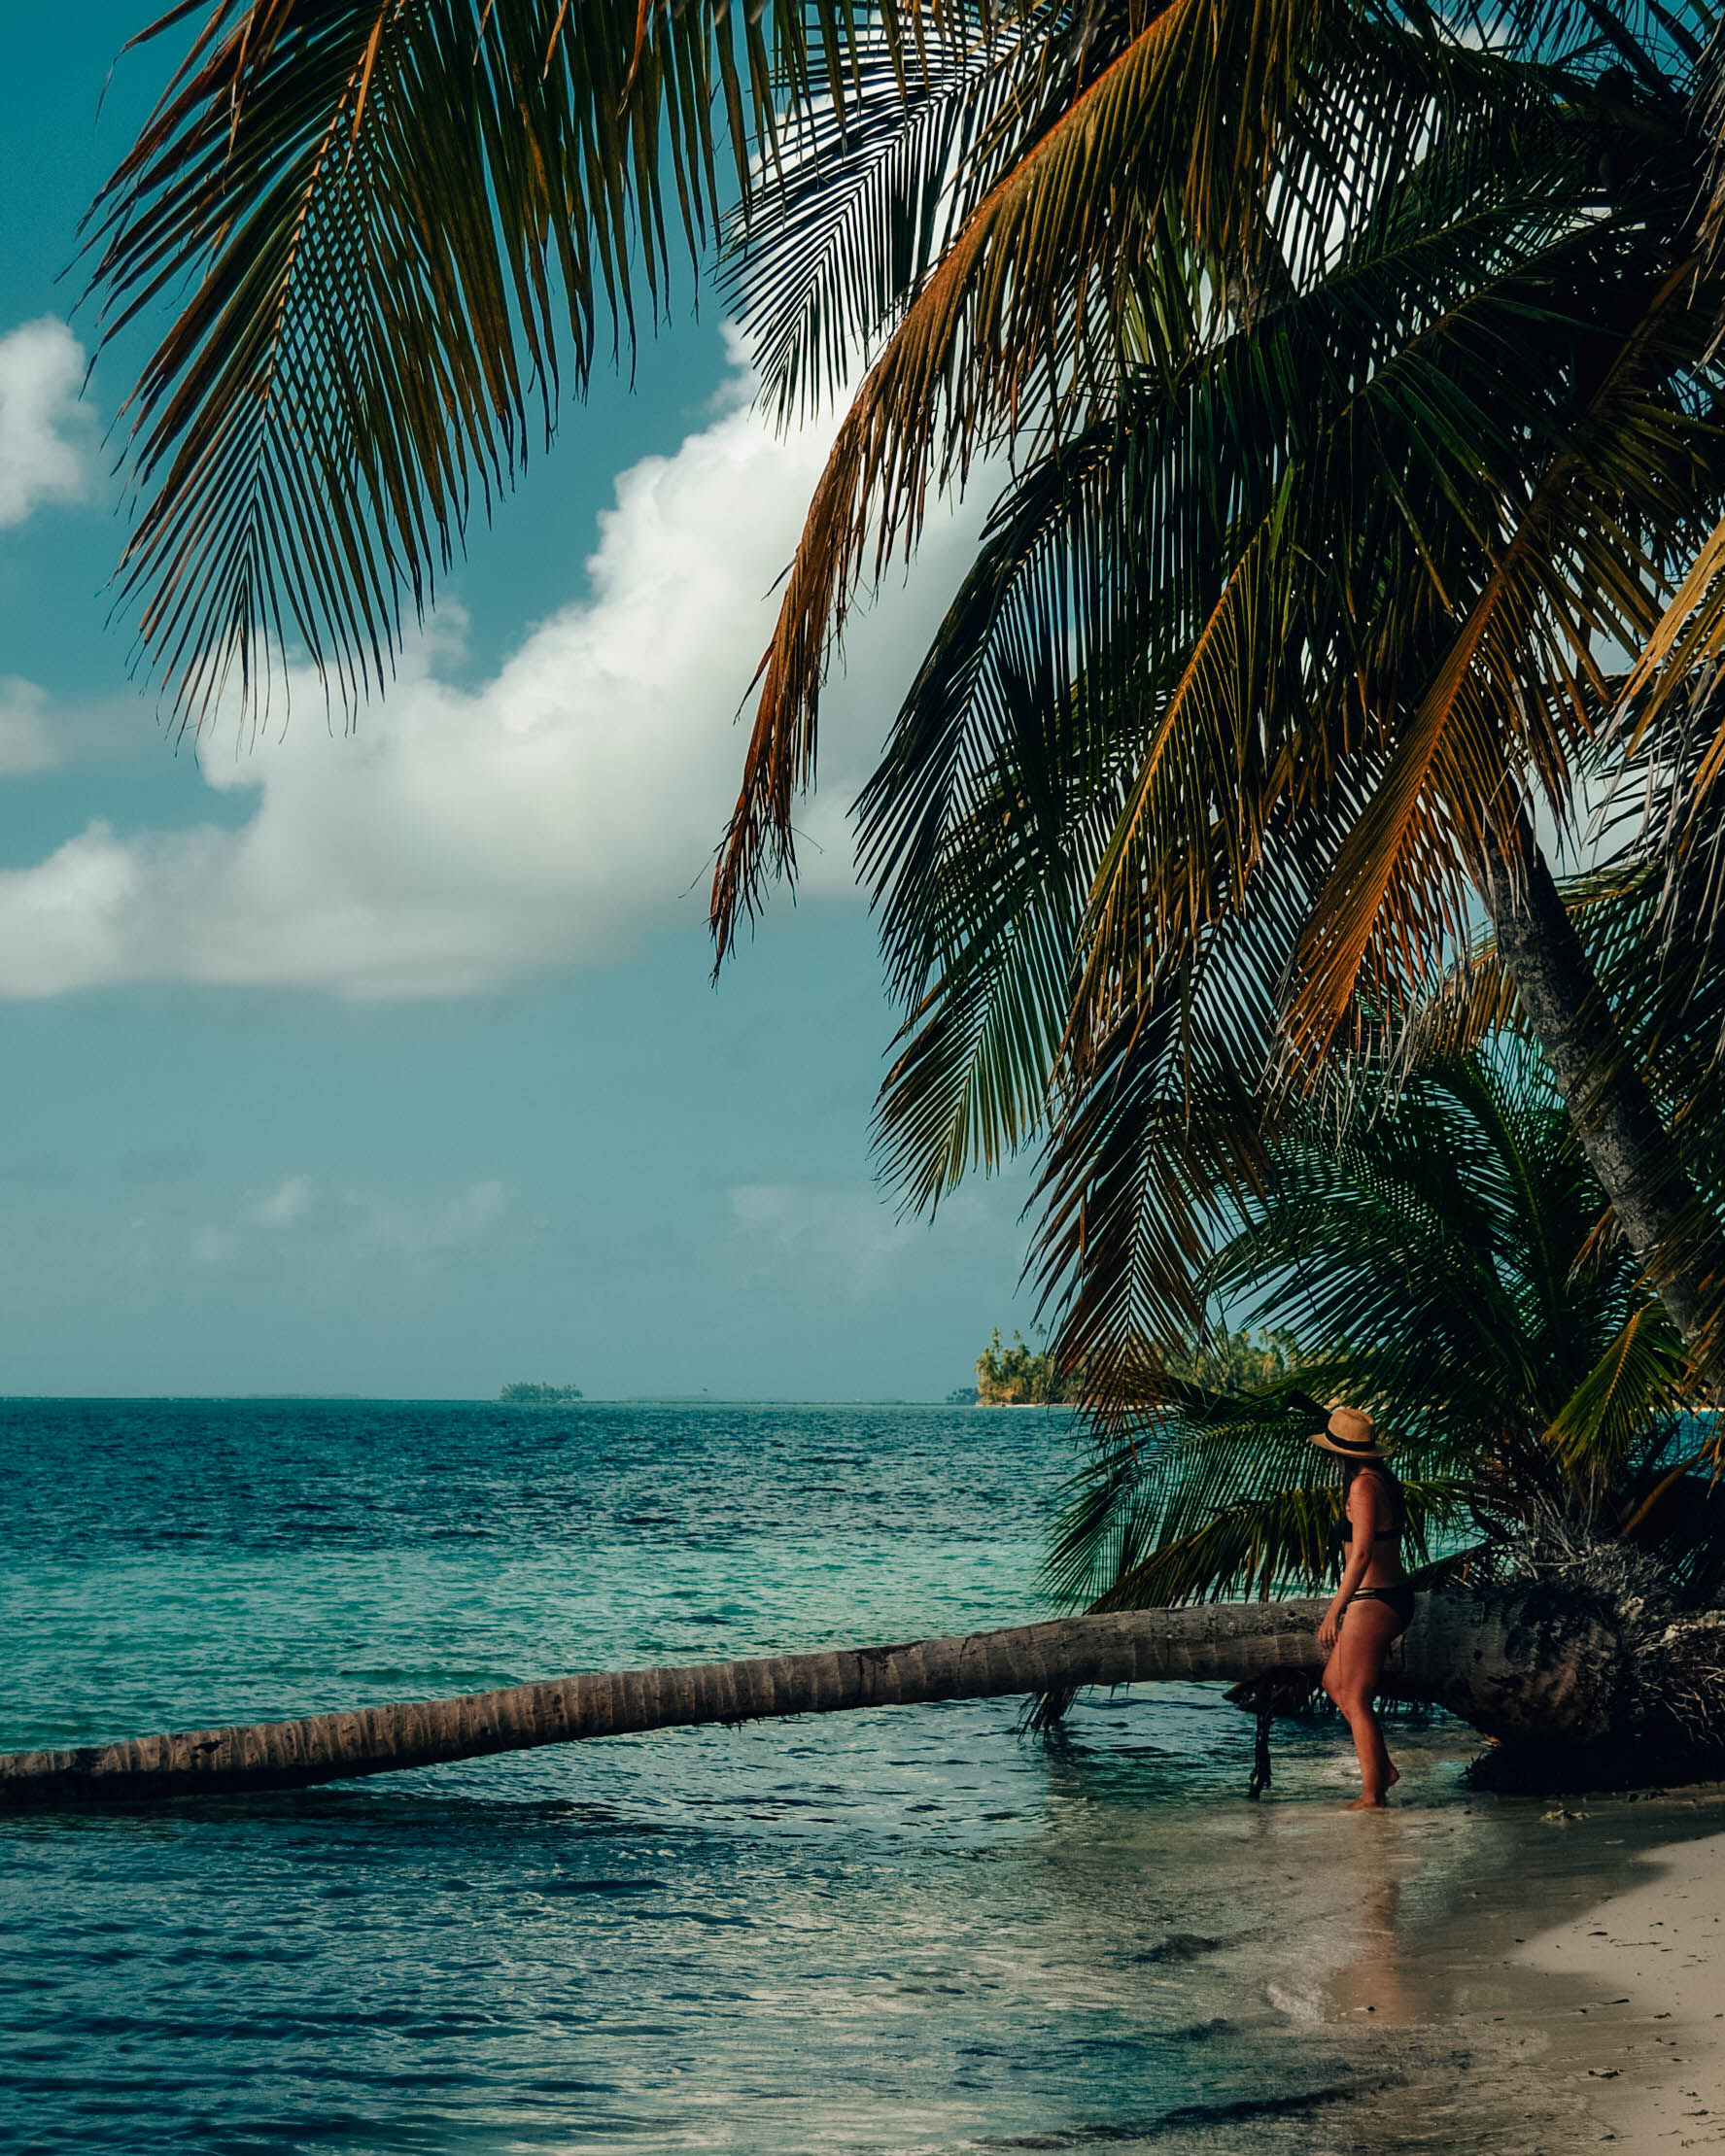

In order clockwise, from left - this collection includes: BLACK SAND, PLAYA VENAO, CARTAGENA, BOCAS JUNGLE, PUNTA UVA, SAN BLAS BRIGHT, SAN BLAS DREAMS, SAN BLAS LIFE, SAN JOSE, and (BONUS) NEW YORK CITY
MOBILE - Lightroom CC mobile app
Download the .zip file. (If your phone doesn't automatically download .zip, you can use a free app like "iZip App For Mobile" to extract the files. Import the .DNG files to Lightroom one at a time. Tap the 3 dots > select "Create Preset" > rename title as preset name and leave Tools, Optics, and Geometry unchecked. > Tap the check mark to save. Go back to the screen to import photos and start editing! (Note: if you open the .DNG file first and it says "Cannot load image," go back and try again; it should work!)
AIRDROP OPTION (recommended for Mac/iPhone)
AirDrop the .DNG files one at a time from your Mac to your iPhone. Note: These will look like blank/grey images in your Camera Roll. Go back into Lightroom and import the .DNG files one at a time (Note: if you open the .DNG file first and it says "Cannot load image," go back and try again; it should work!) Tap the 3 dots in the upper-right corner of the file (it should show the image now) and tap "Create Preset” > rename the title to preset name and leave Tools, Optics, and Geometry unchecked. > Tap the check mark to save.
Once you’ve imported the presets, go back and add photos to start editing! Use the “Preset” tool to locate all your presets!
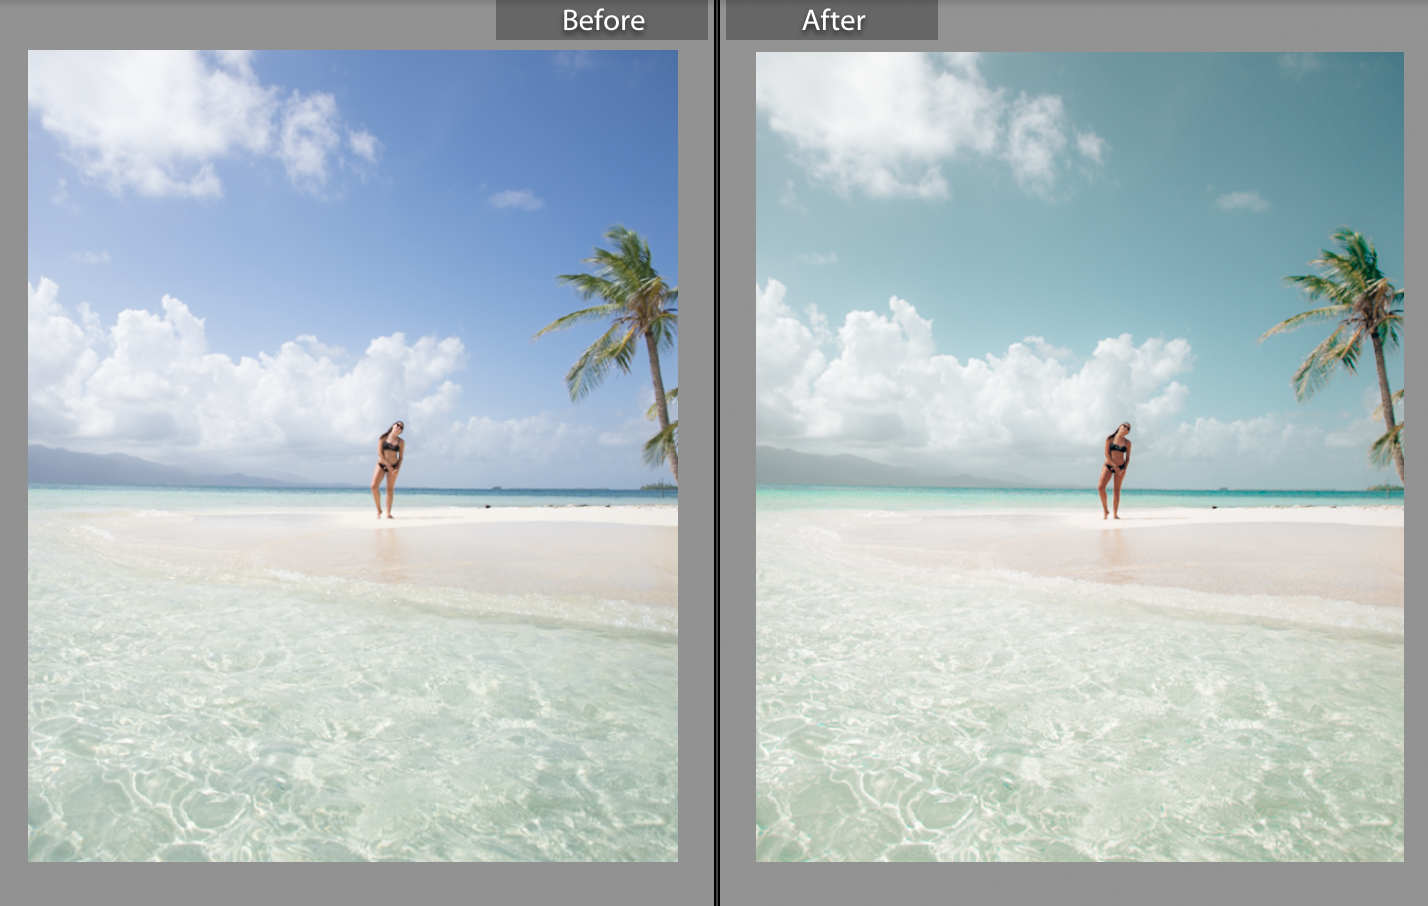
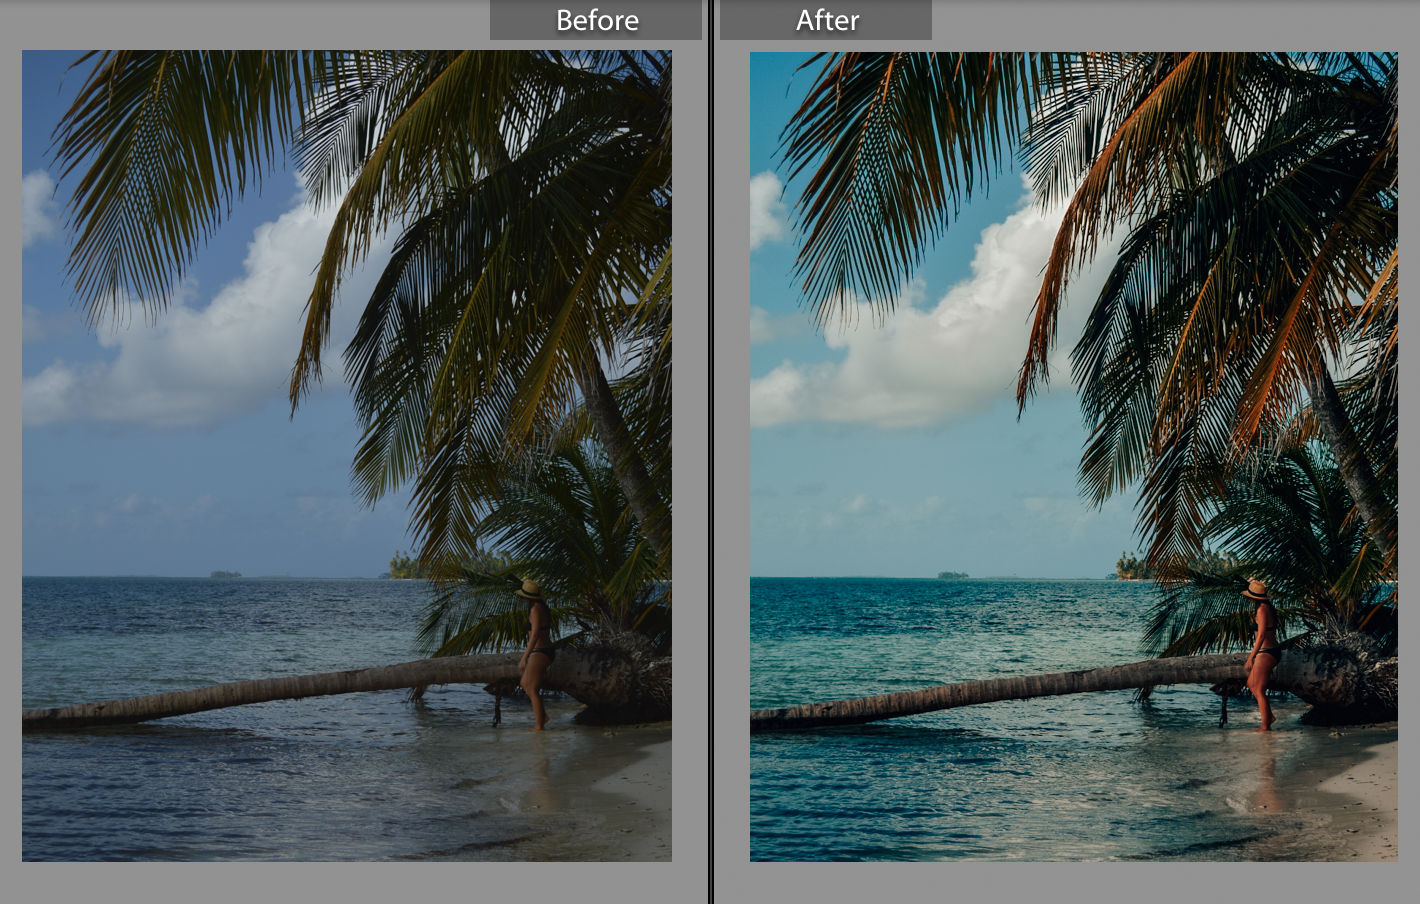
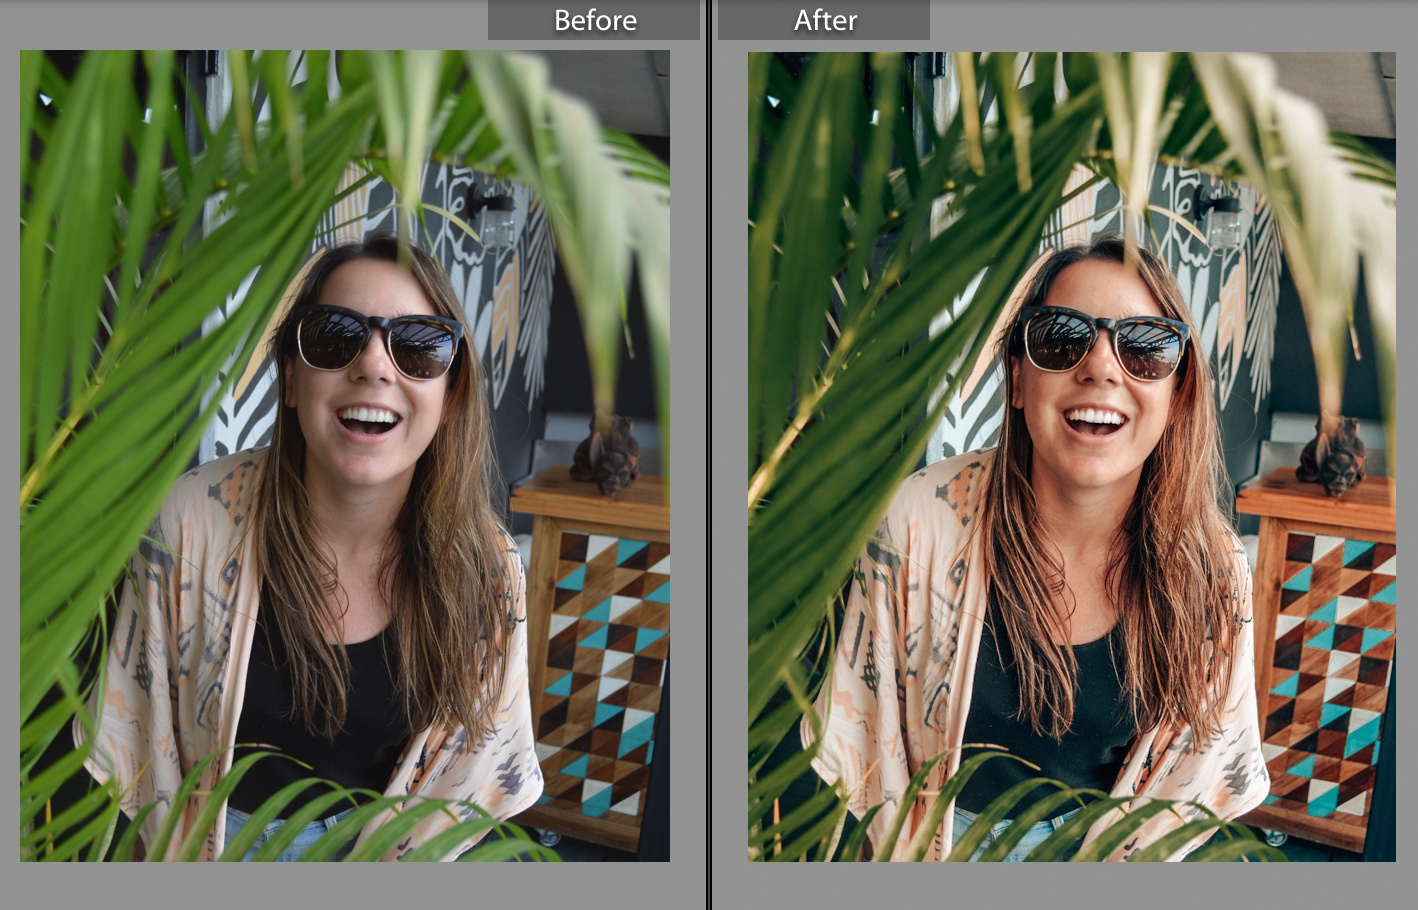
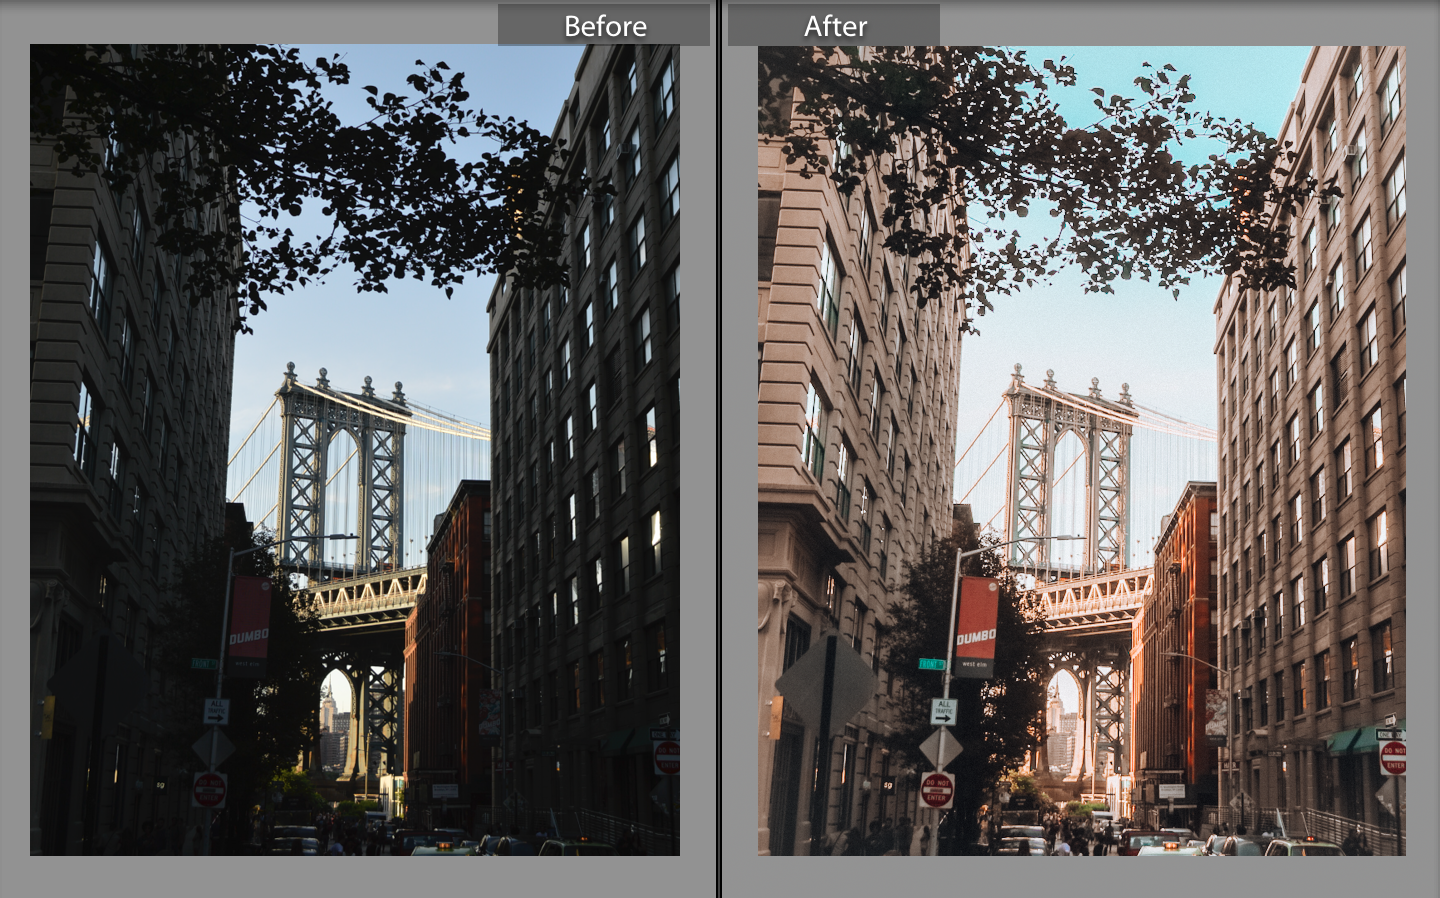
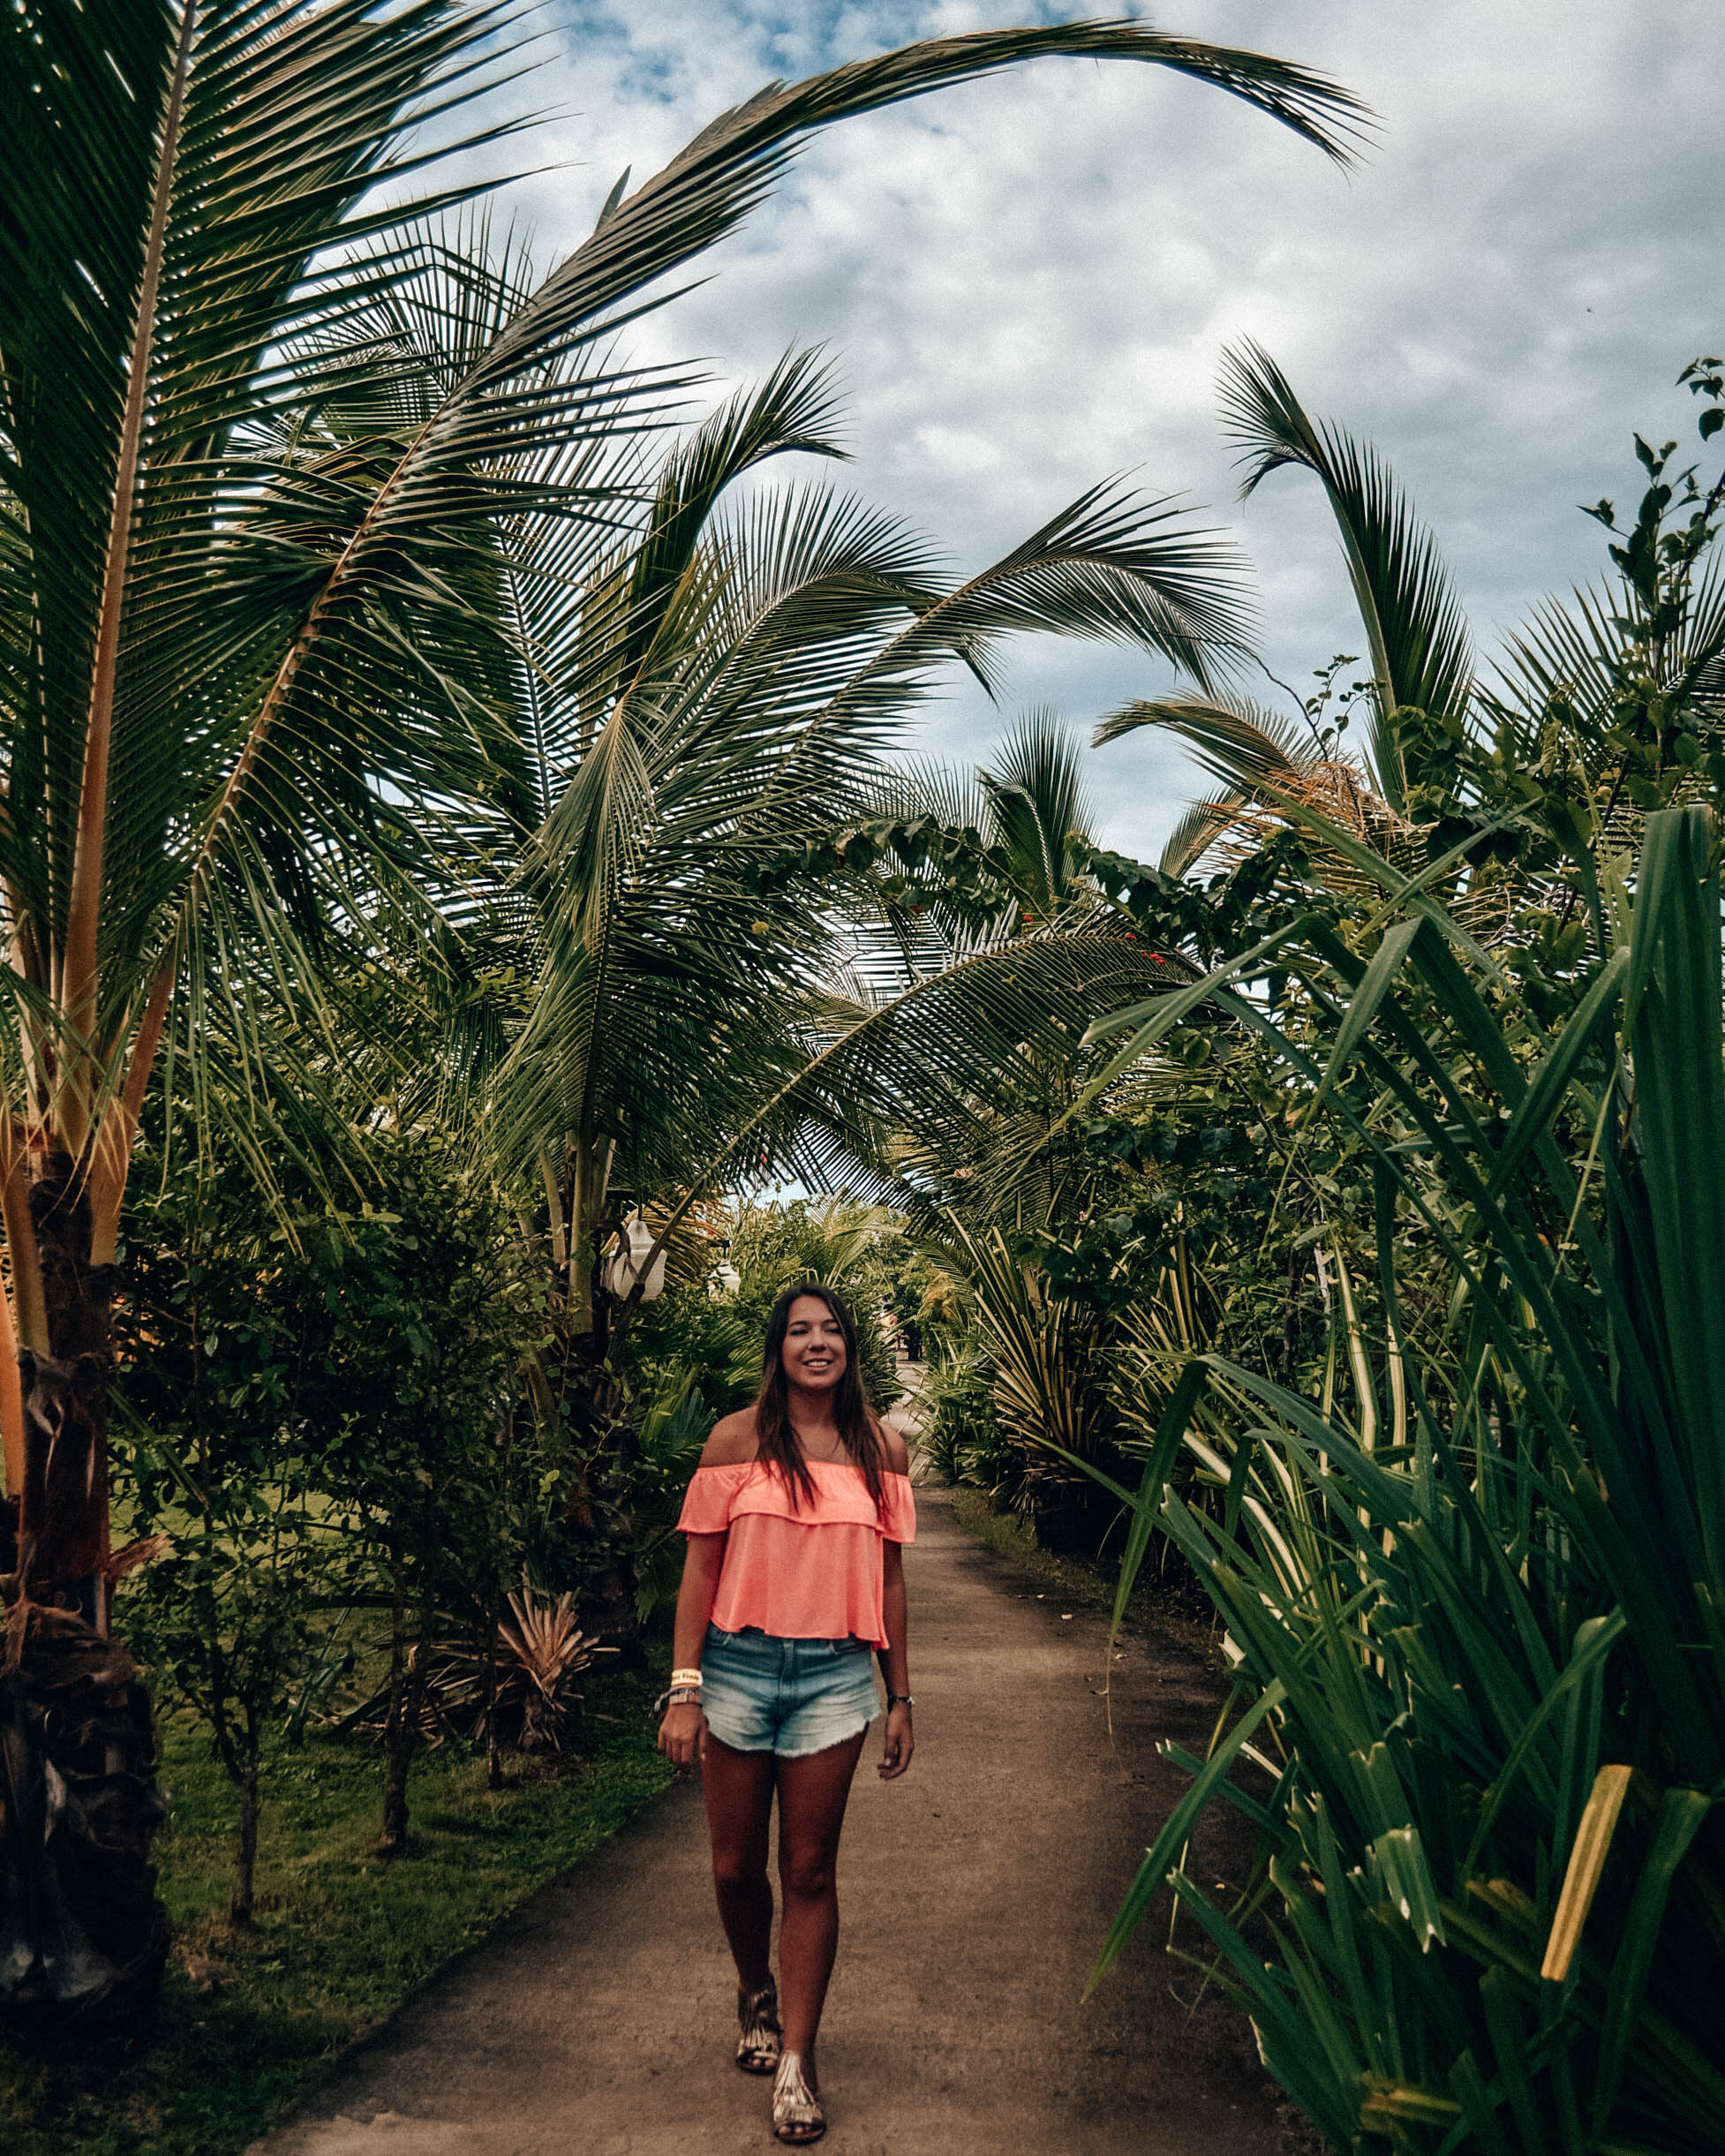
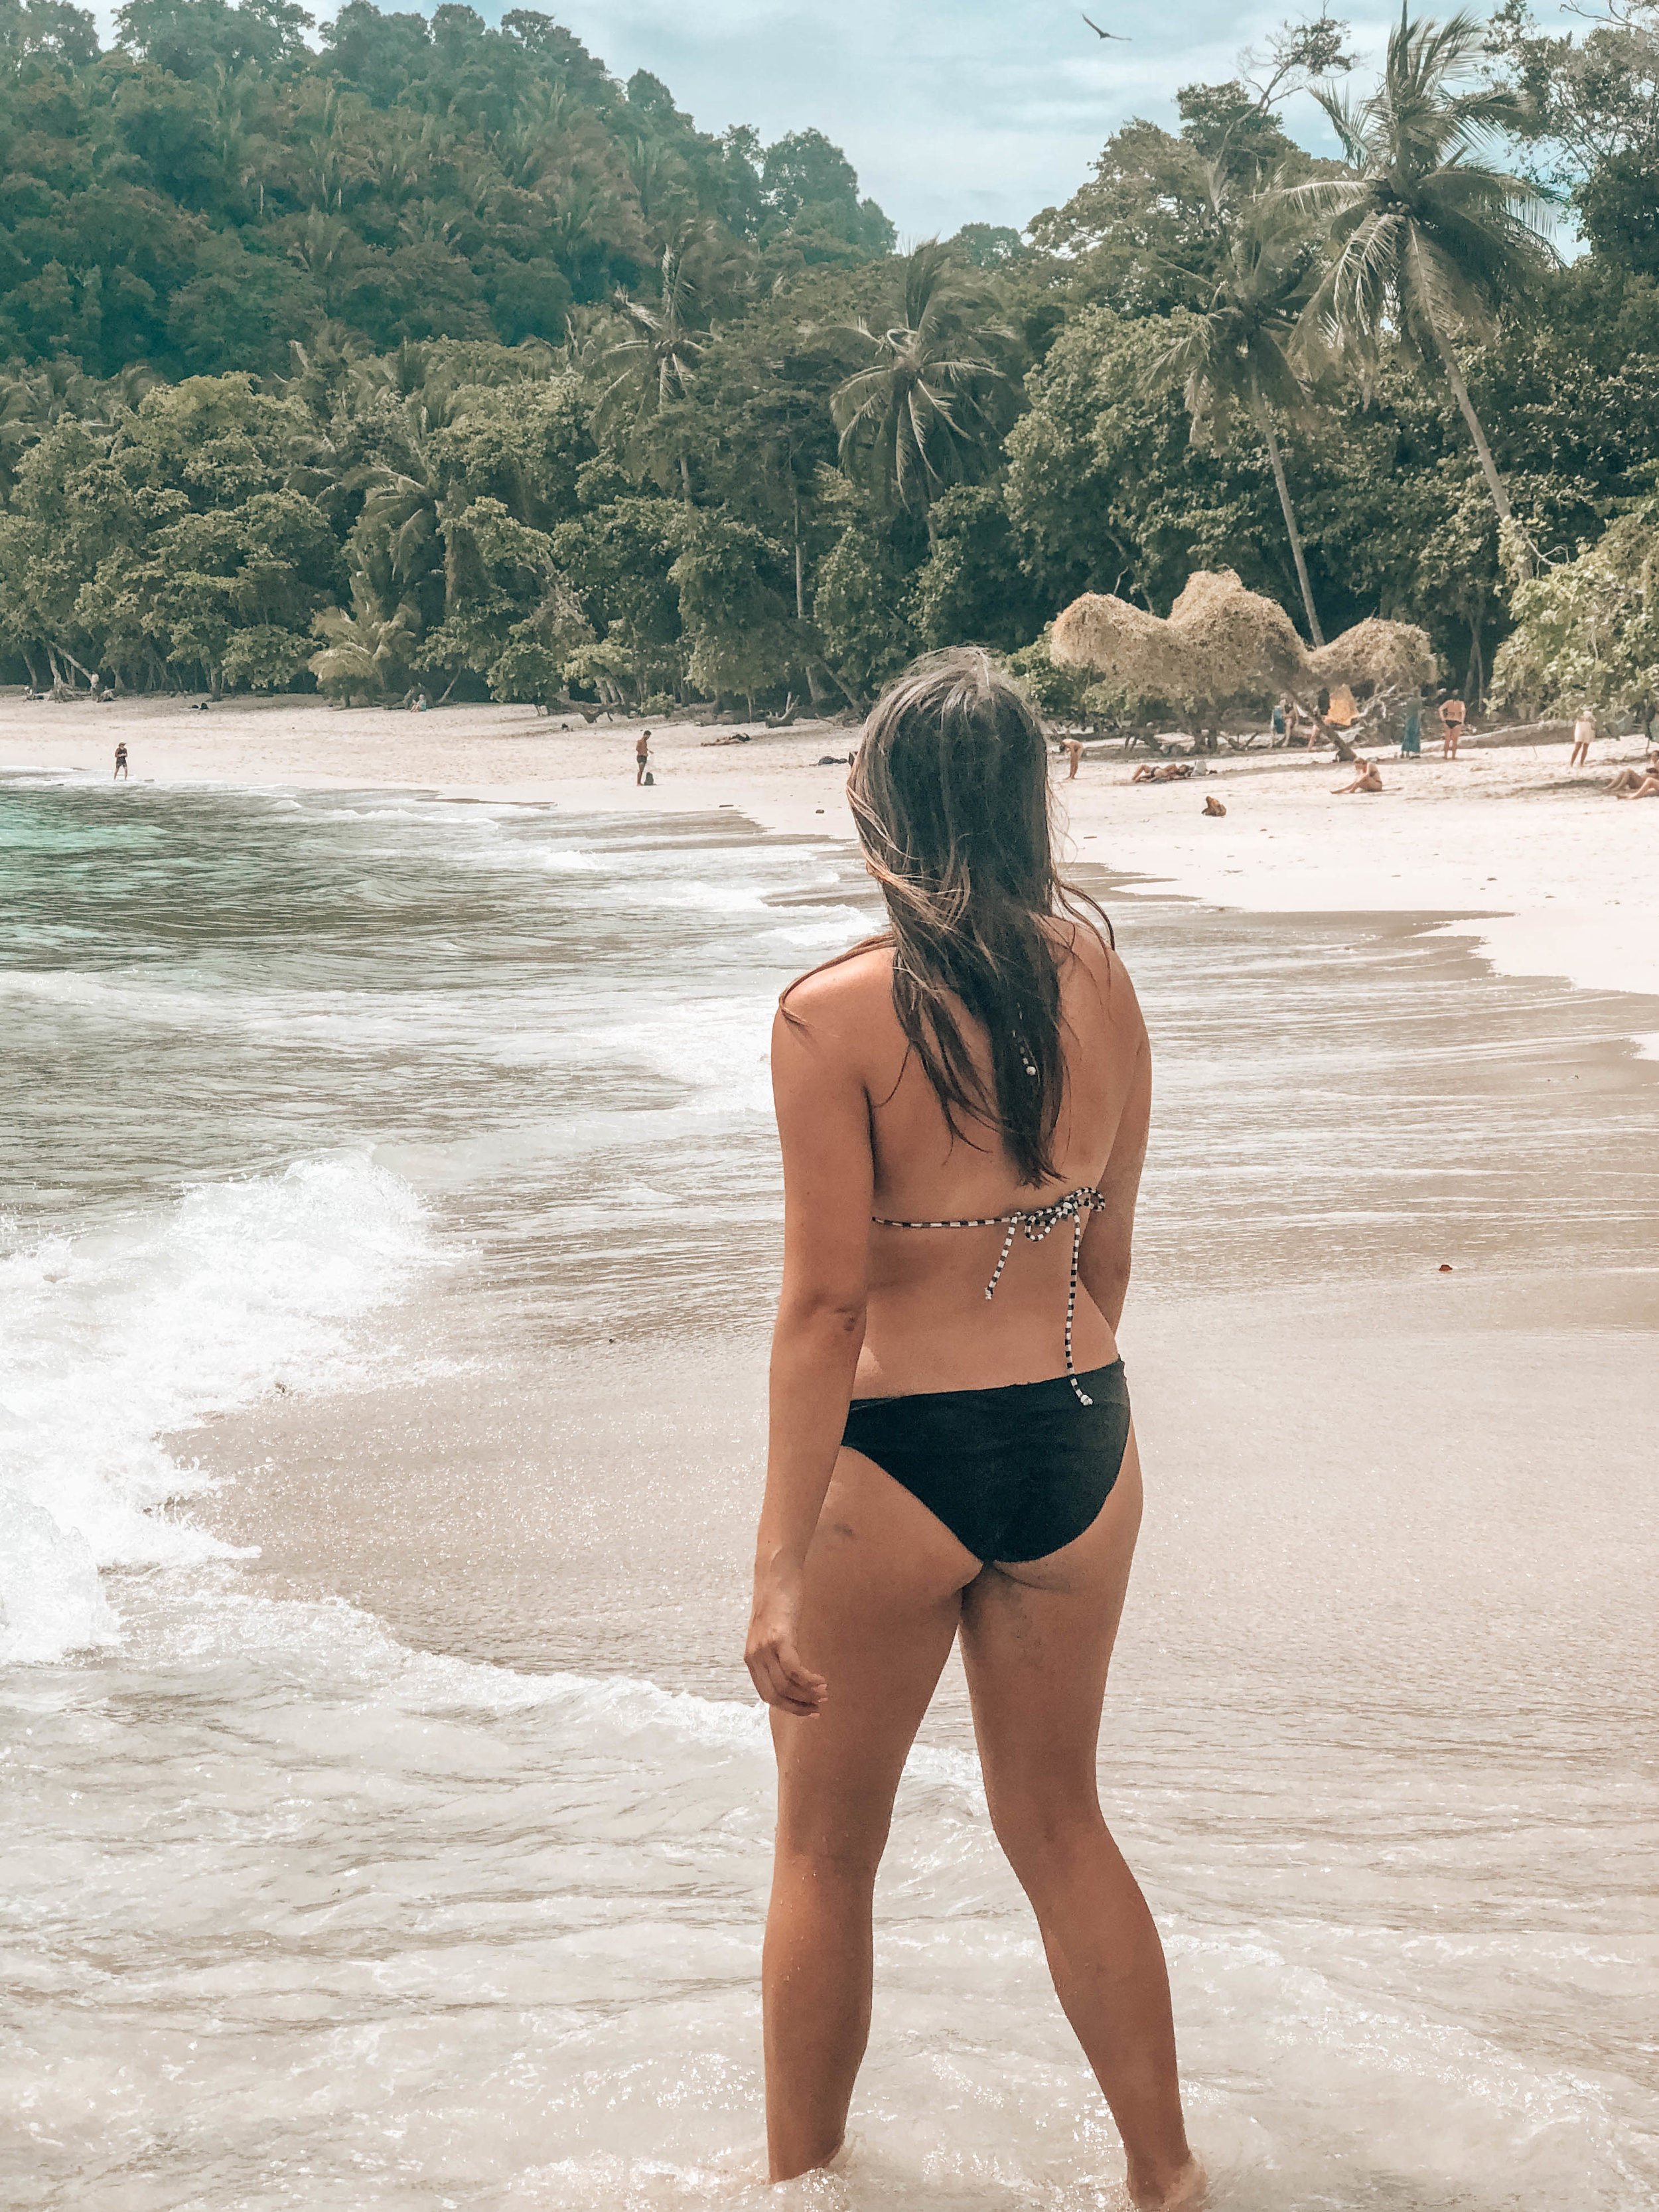
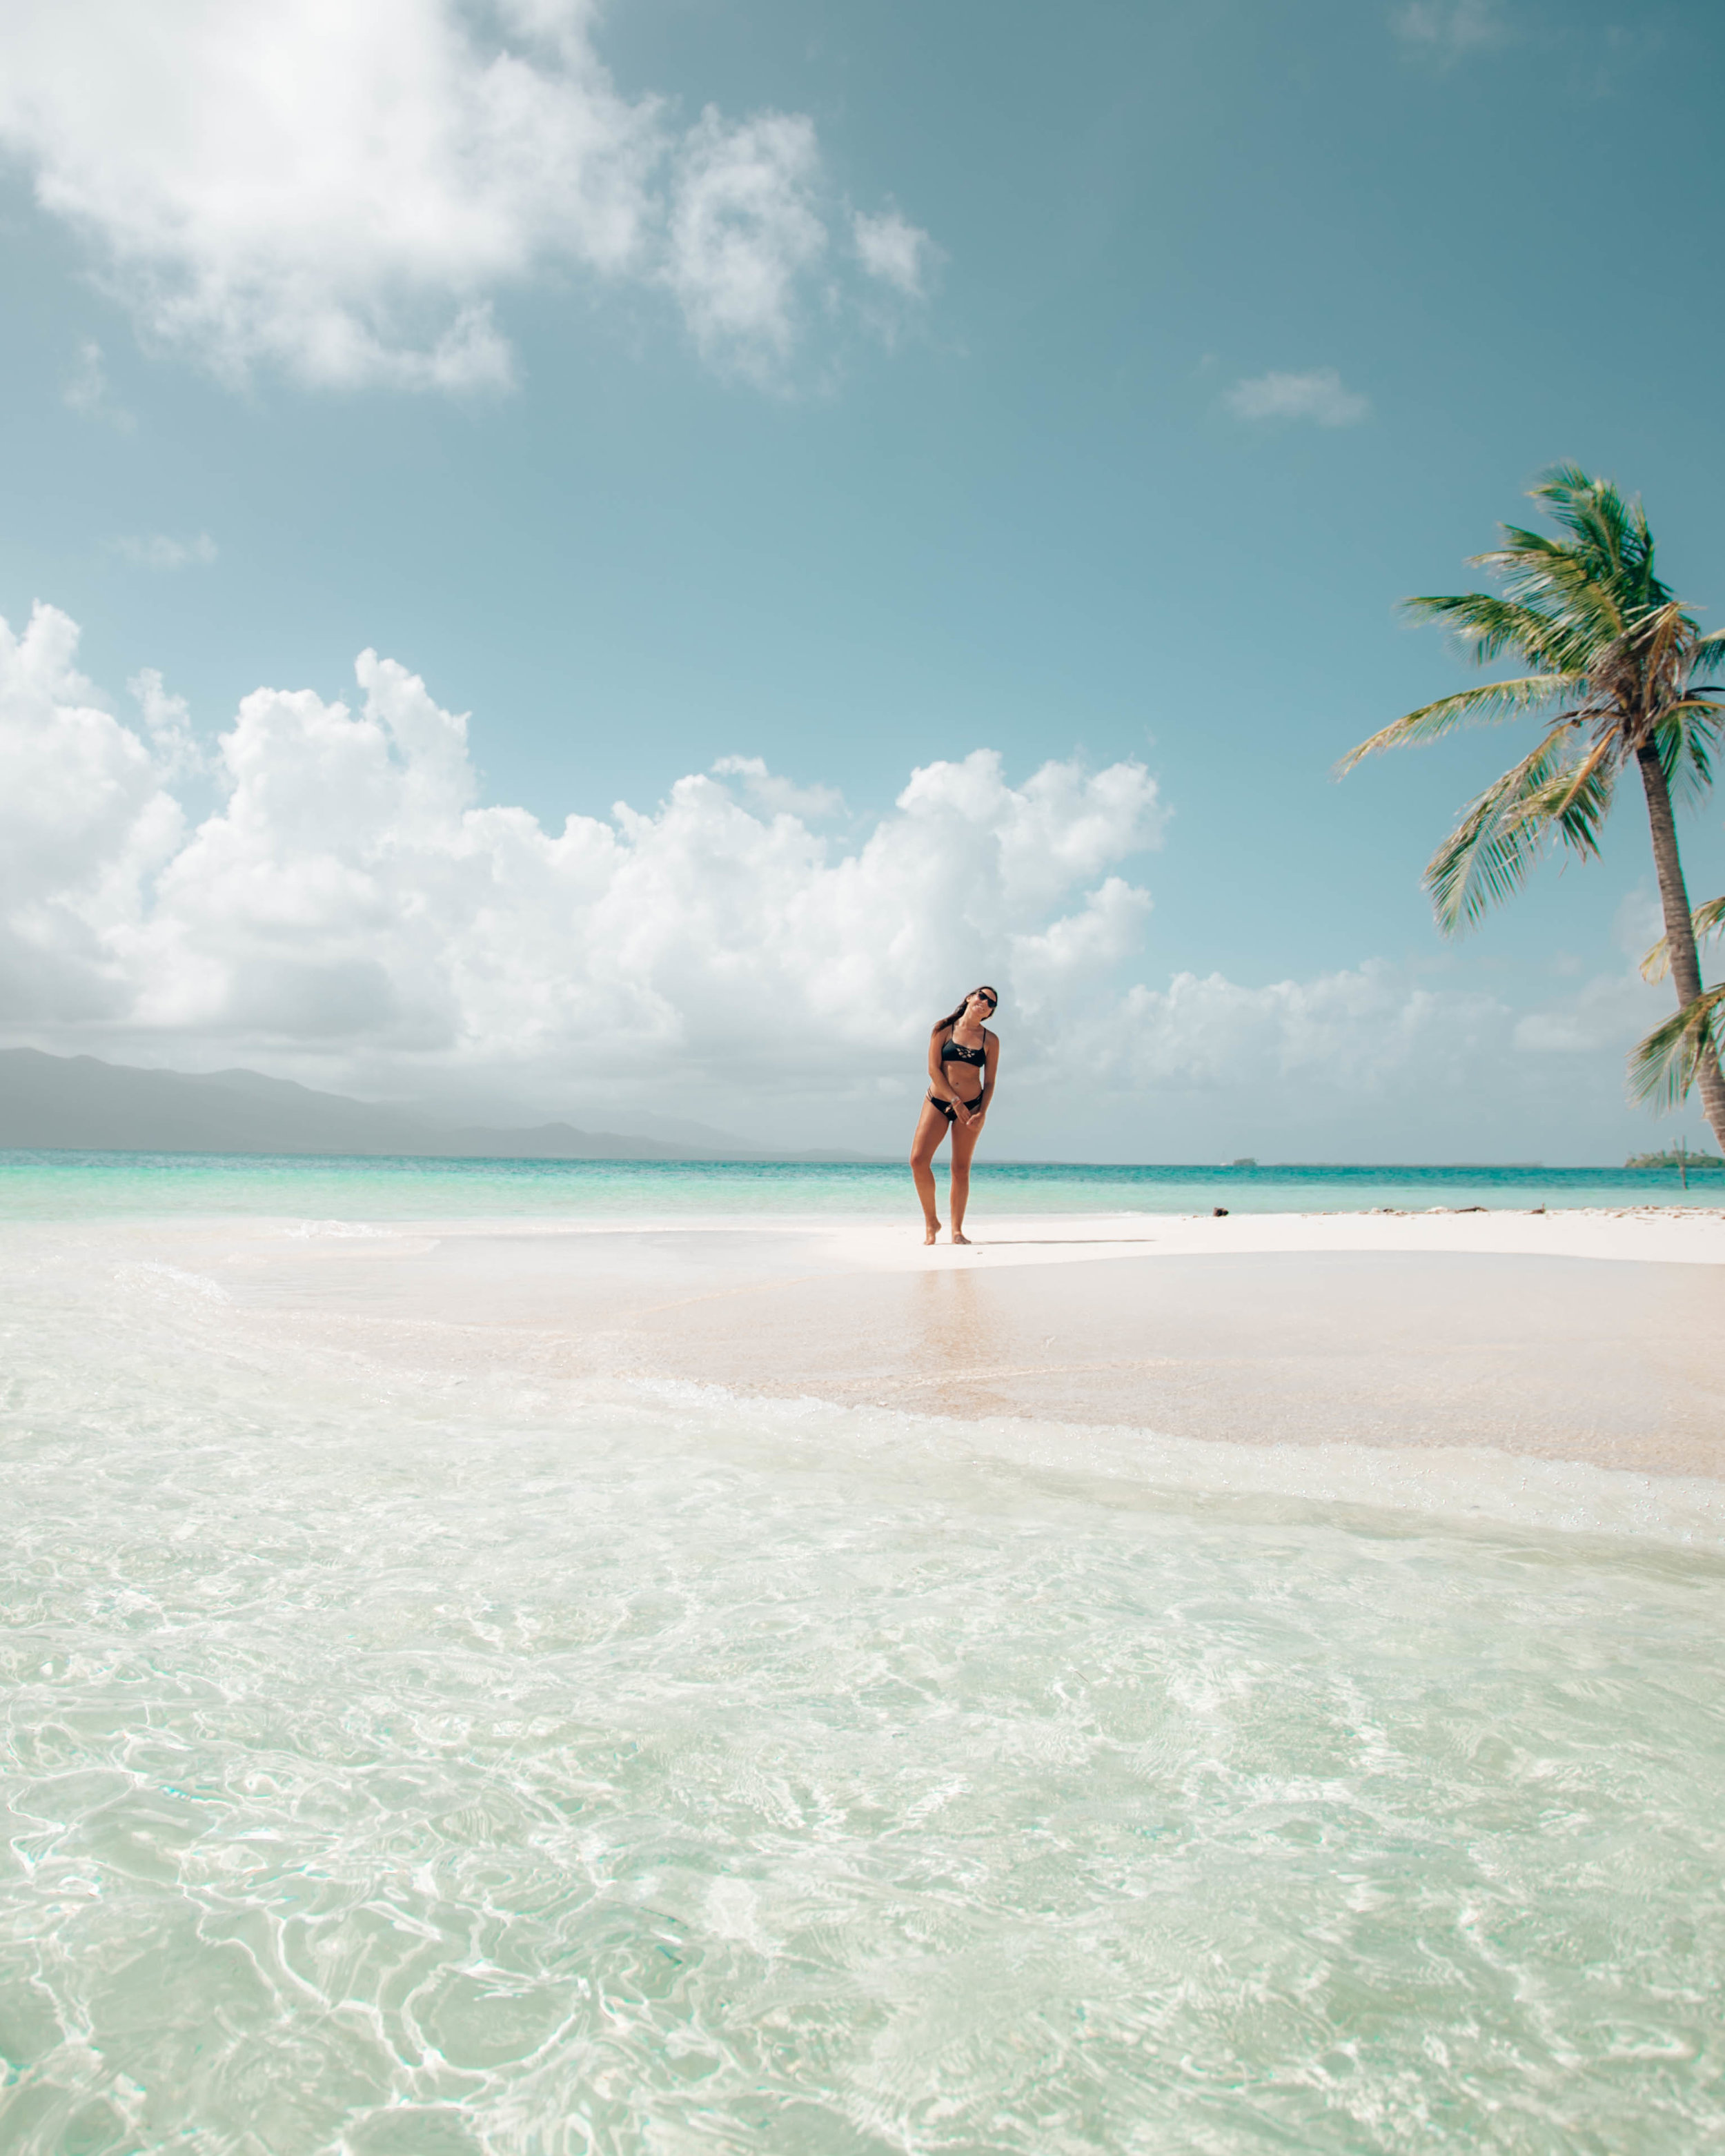
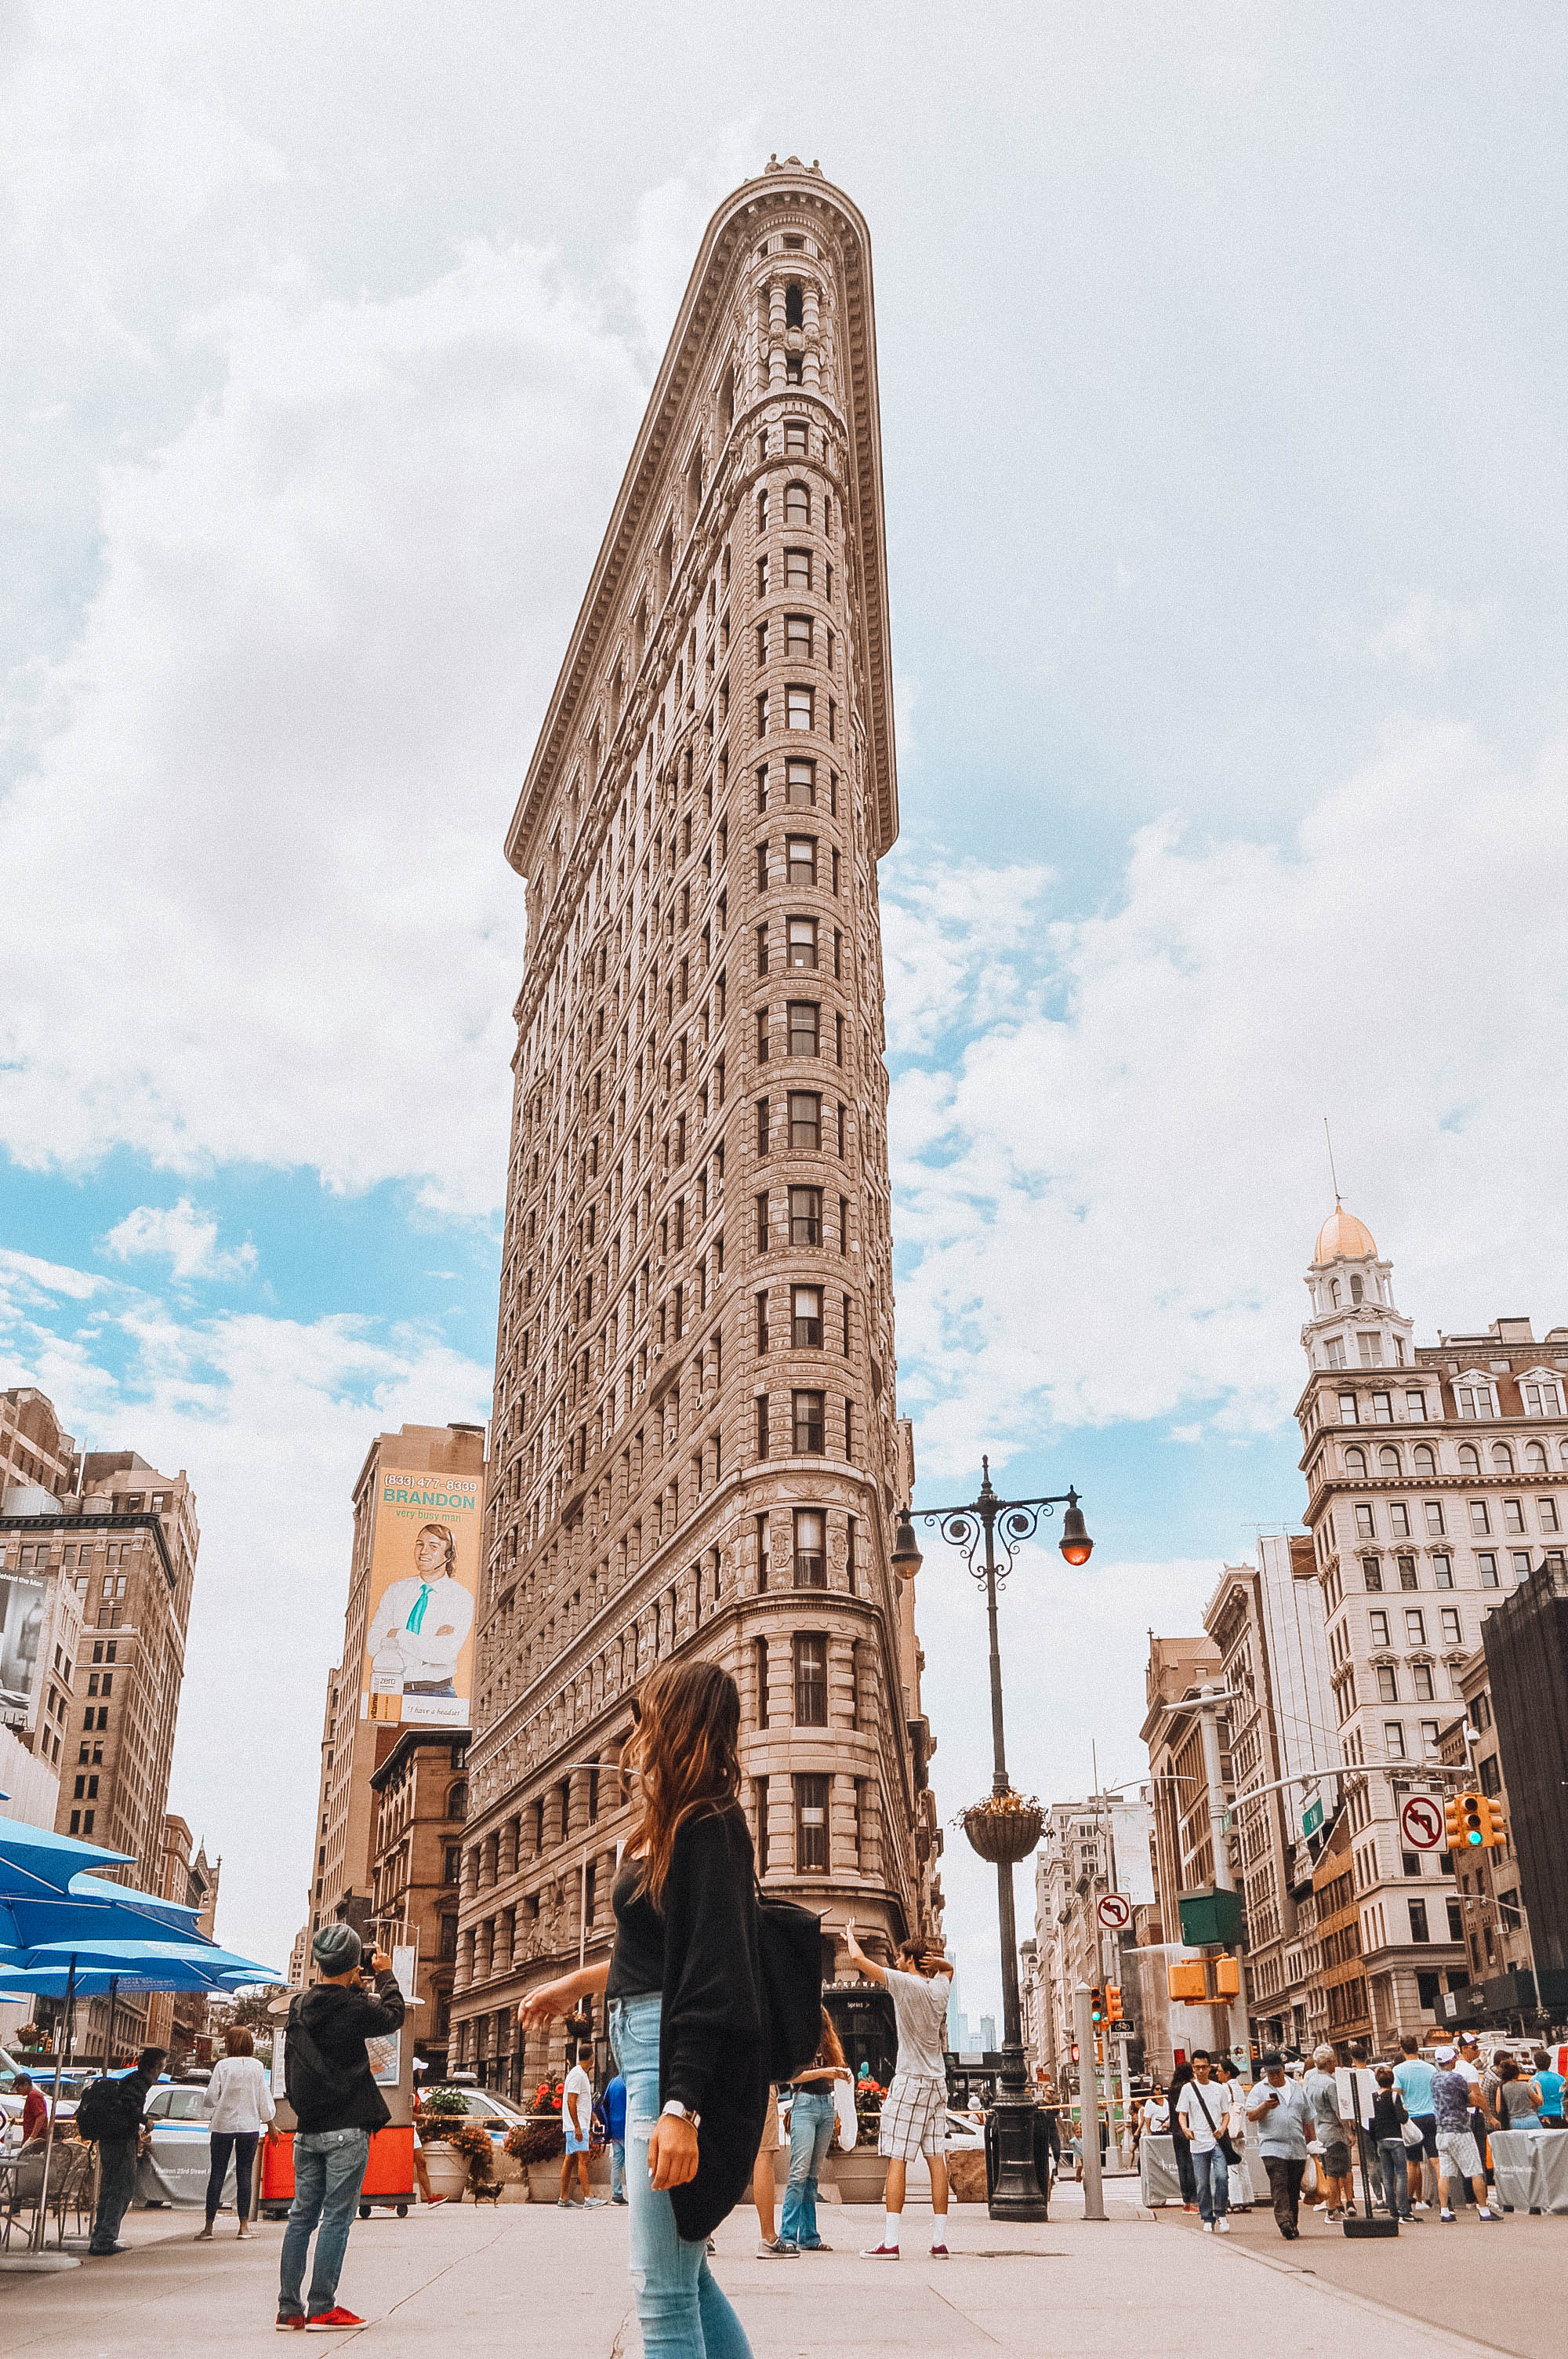
More BEFORE & AFTER EXAMPLES
Left to right: SAN BLAS LIFE, SAN BLAS DREAMS, SAN JOSE, PUNTA UVA, NEW YORK CITY